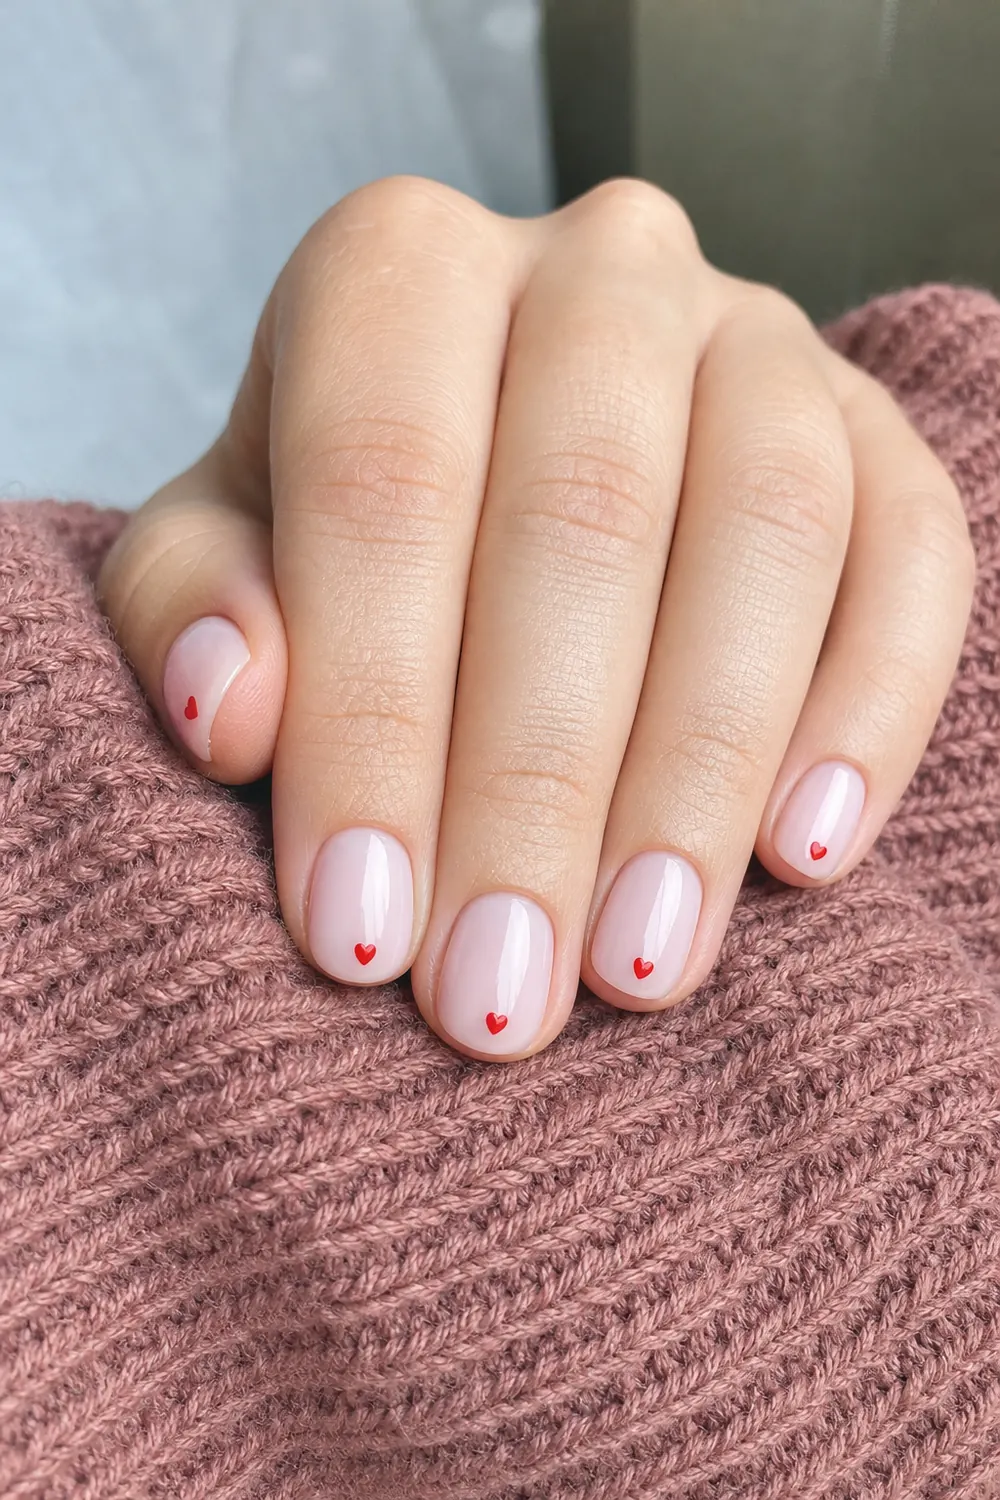
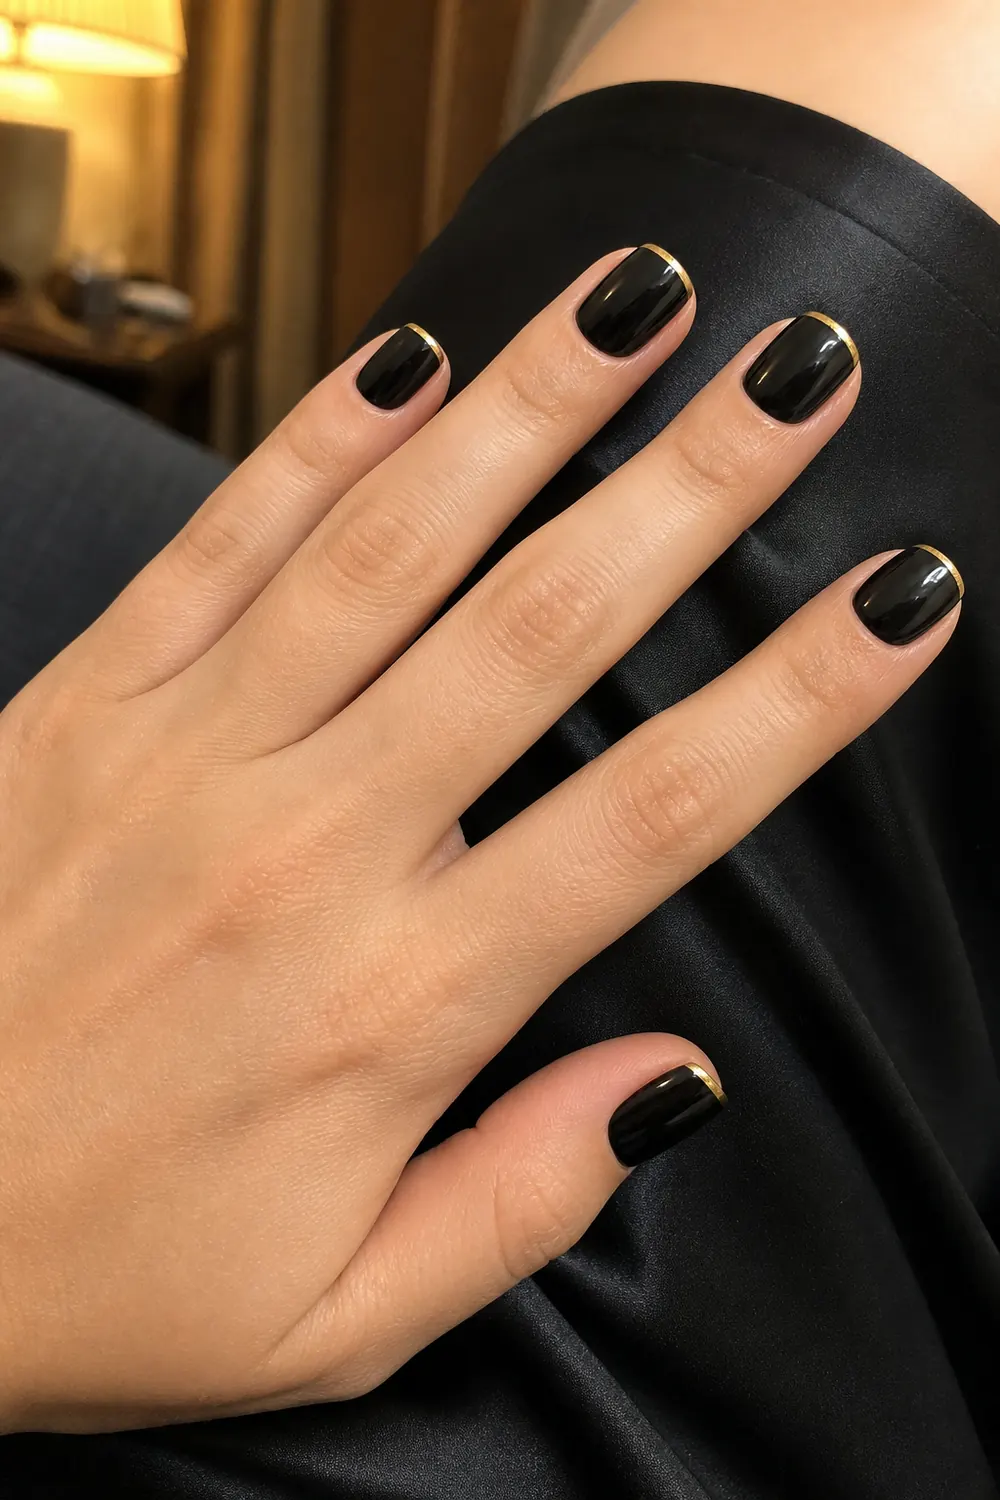
Easy DIY Valentine Gel Nails at Home: 12 Designs
If you have a home LED/UV lamp and a few gel colors, easy DIY Valentine gel nails are very doable without a salon visit. This guide is for beginners with short nails: first the basic gel routine step by step, then 12 simple designs that build on it. The hardest skill you need is placing two dots and pulling them into a tiny heart.
Read the routine once before you start, since most gel problems (lifting, wrinkling, soft spots) come from prep and thick coats, not from the design. The ideas start with tiny hearts, move through three builder gel looks, and finish with one-color sets and small accent details.
Nail designs in this post are AI-generated illustrations for inspiration, not photos of real manicures. About our images
What You Need
- LED/UV nail lamp
- Gel base coat, gel top coat (no-wipe is easiest) and gel colors: sheer pink, nude, soft pink, red, cranberry, white and burgundy
- Nail file, buffer and cuticle pusher
- Lint-free wipes and isopropyl alcohol or gel cleanser
- Dotting tool (a bobby pin or toothpick works too) and a thin striping (liner) brush
- Sheer pink or strawberry milk builder gel (optional, for the builder gel ideas)
- Fine red glitter gel and a gold gel or small gold dot for accents
- Small cleanup brush or orange wood stick and a makeup sponge for the ombre
The Basic Gel Routine (Do This Before Any Design)
- Prep the nailsRemove old polish, gently push back your cuticles and file the shape. Lightly buff the shine off each nail so the gel has something to grip, then brush away the dust.
- CleanseWipe each nail with isopropyl alcohol or a gel cleanser on a lint-free wipe. Try not to touch your nails after this, because skin oil can make gel lift.
- Thin base coat, then cureBrush on a very thin layer of gel base, cap the free edge and stop just short of the cuticle. Cure it for the time your lamp and base coat instructions say.
- Color in thin coats, curing each oneApply the first coat of color as thin as you can, even if it looks streaky, and cure. Add a second thin coat and cure again. Thick coats can wrinkle or stay soft underneath.
- Clean up skin before every cureCheck the edges before each trip into the lamp and wipe any gel off your skin or cuticles with a small brush dipped in cleanser. Uncured gel on skin can lead to an allergy to acrylates, so don't cure over a spill.
- Add the nail artHearts, dots, lines and glitter go on top of the cured color. Do one or two nails at a time and cure right away so small details don't spread.
- Top coat, then cureApply top coat, cap the free edge again and cure for the time your top coat says. Make sure it fully covers glitter and any raised details.
- Wipe if neededIf your top coat leaves a sticky layer after curing, wipe each nail with alcohol on a lint-free wipe. A no-wipe top coat skips this step. Finish with cuticle oil around the nails.
1. Sheer Pink Gel with Tiny Dot Hearts
- Difficulty: Easy
- Time: 40 min
- Gel polish
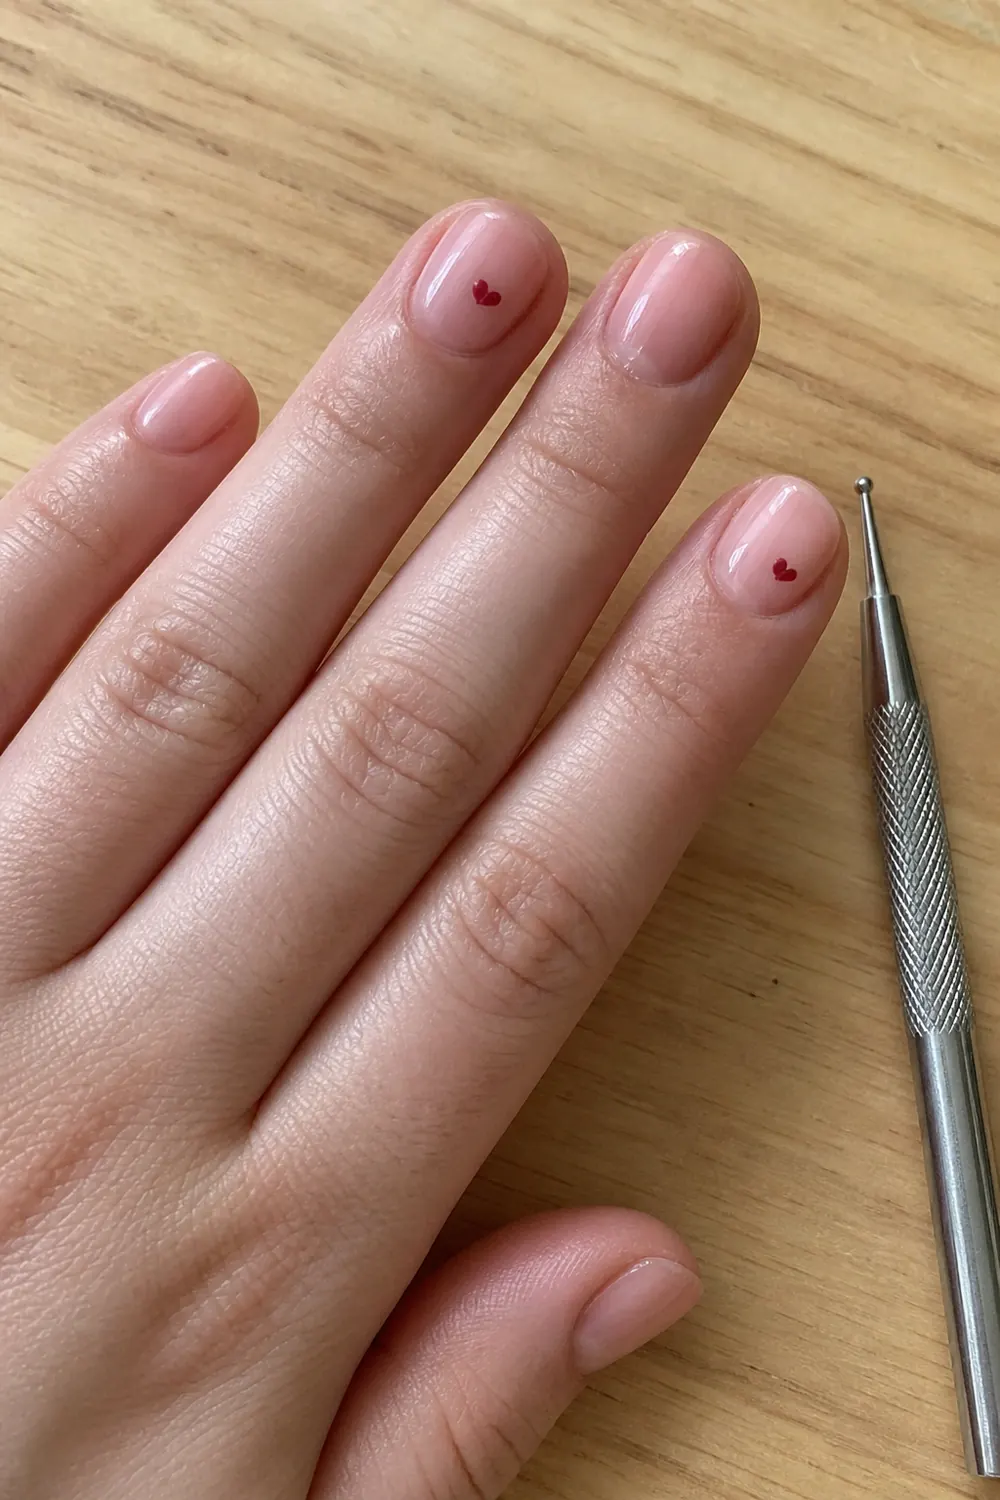
A sheer pink base with one tiny dark red heart on a couple of nails is the best first Valentine gel design. Place two small dots of red gel side by side with a dotting tool, then drag the bottom of both down into a point with the tip of the tool or a toothpick. Cure that nail right away, before the heart has time to soften and spread.
2. Nude Pink Base with Two Glossy Red Hearts
- Difficulty: Easy
- Time: 40 min
- Gel polish
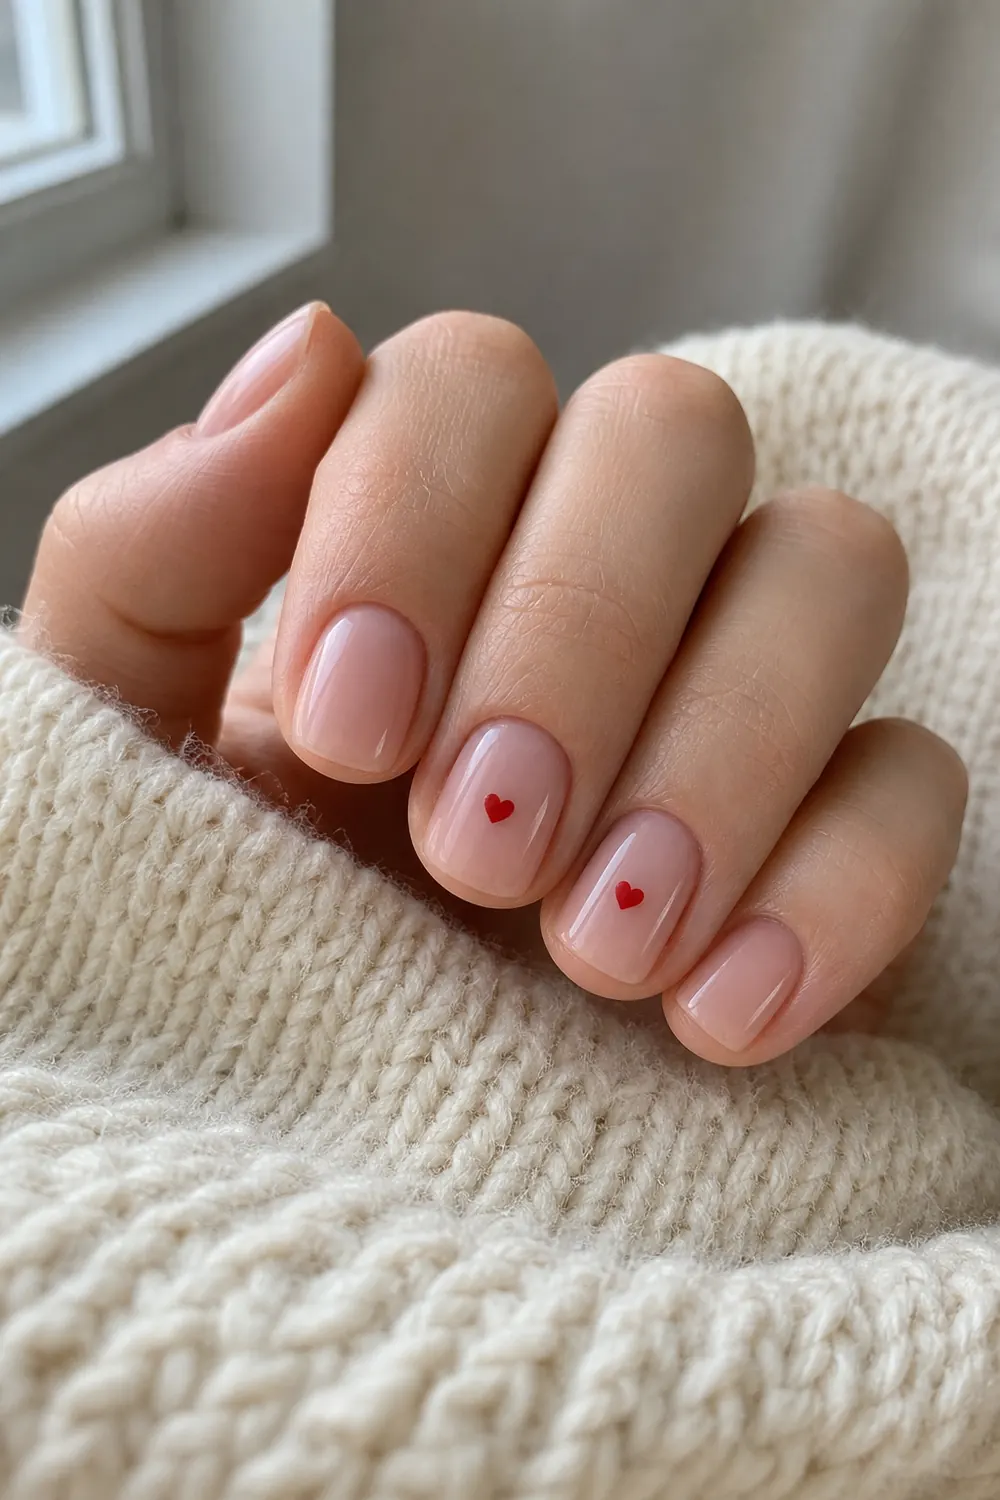
A sheer nude pink on every nail, with one tiny glossy red heart on the middle and ring fingers. Keeping the hearts on two neighboring nails makes the set look planned instead of random. Put the heart slightly below the center of the nail, where it looks balanced on a short nail.
3. Strawberry Milk Builder Gel with Tiny Red Hearts
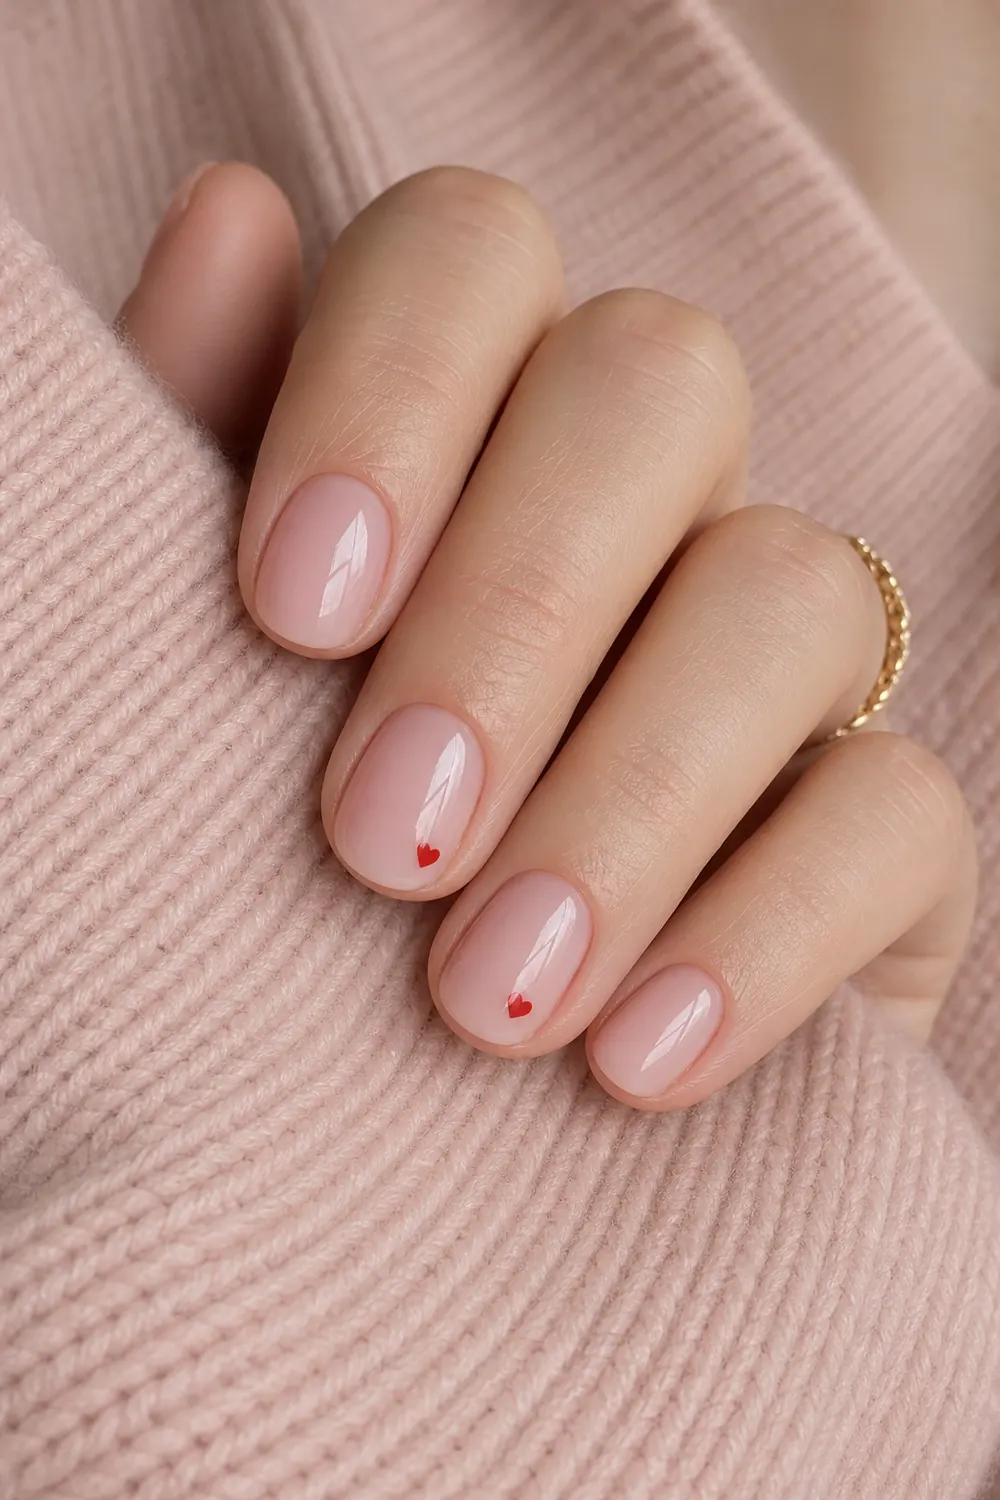
- Difficulty: Easy-medium
- Time: 50–60 min
- Builder gel + gel polish
The first of three builder gel nail ideas for Valentine's: a milky, warm strawberry milk pink overlay with a tiny red heart on a couple of nails. Apply the builder gel in thin layers, let it level for a few seconds and cure, then add the hearts with red gel polish and a dotting tool. Cure the hearts before top coat so they keep their shape.
4. Sheer Pink Builder Gel with Red French Tips
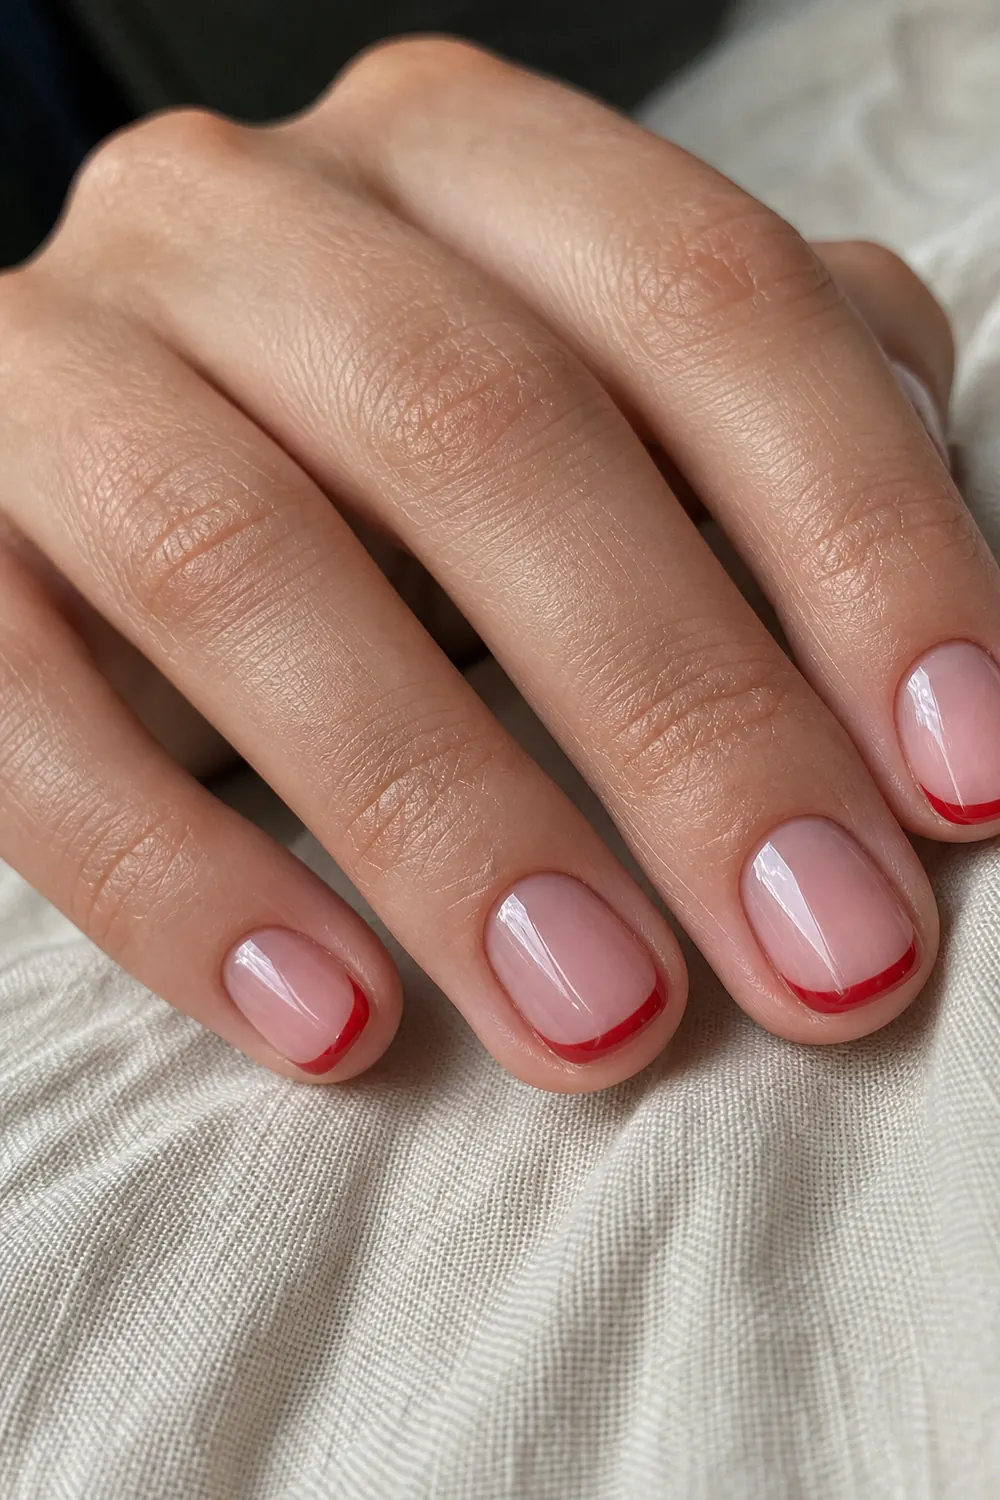
- Difficulty: Easy-medium
- Time: 50–60 min
- Builder gel + gel polish
A sheer pink builder gel overlay with thin red tips is a classic that reads as Valentine's without any hearts. After the overlay is cured, paint a thin red line along each free edge with a liner brush and red gel polish. Clean up the inner line with a brush dipped in alcohol before curing, and keep the tips thin so they suit short nails.
5. Red Builder Gel Structured Manicure
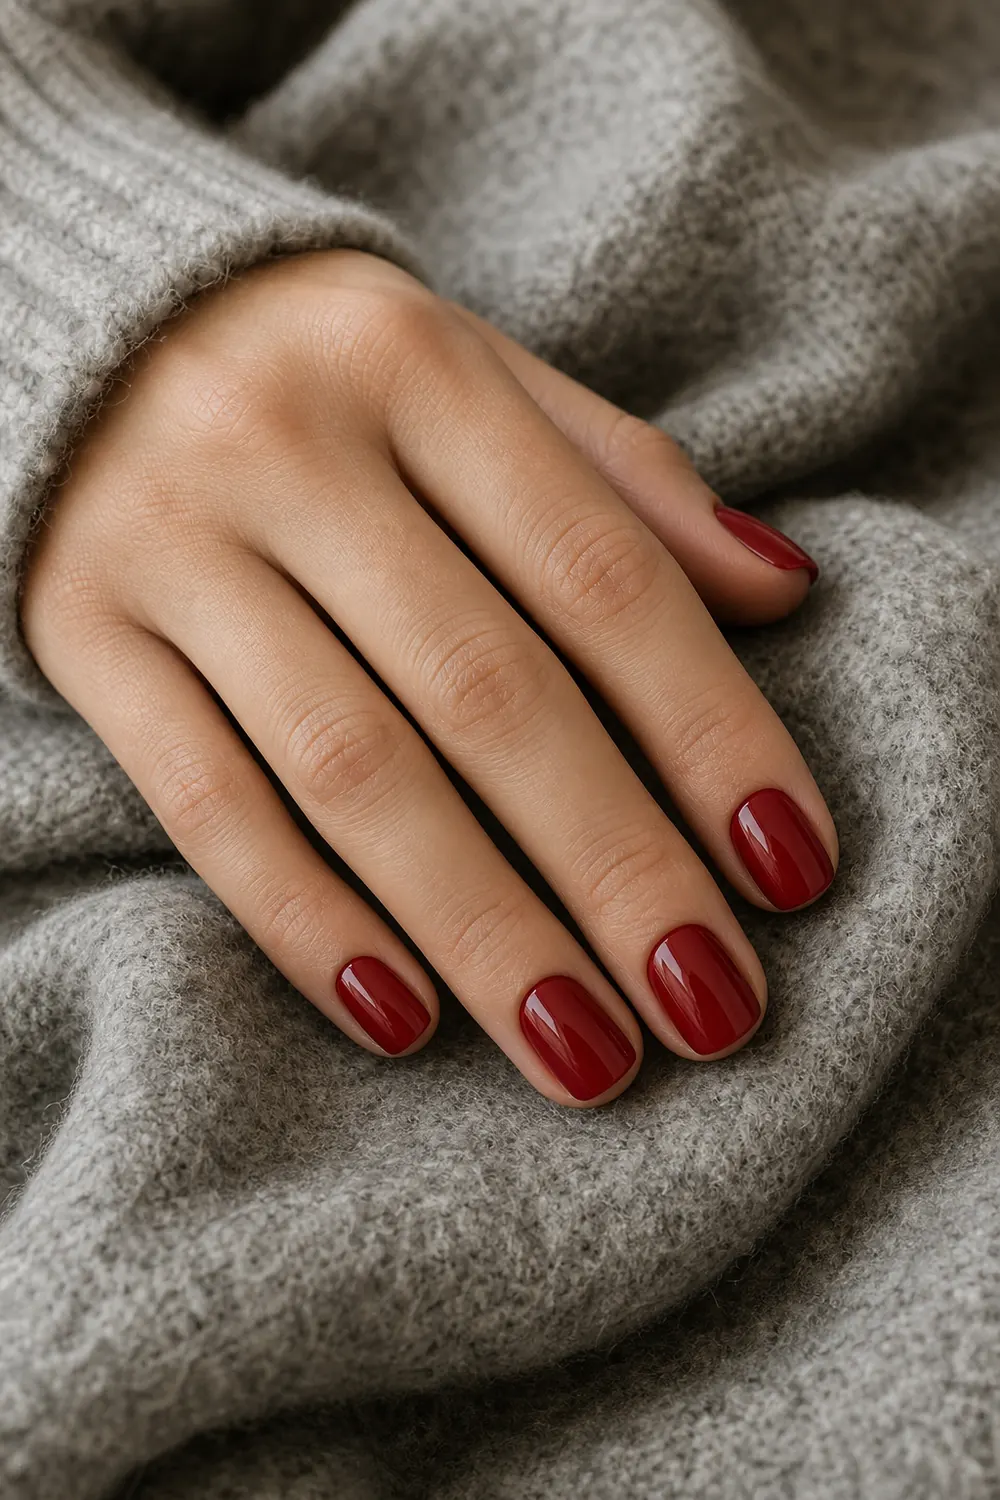
- Difficulty: Medium
- Time: 50–60 min
- Builder gel
A structured manicure means the builder gel has a gentle curve, a little thicker near the middle of the nail, and a red builder gel gives you color and shape in one step. Build it in thin layers and use the upside-down trick (turn your hand over for a few seconds) to help it level before curing. Red shows every bump, so file gently before top coat if needed.
6. Nude to Red Ombre Gel
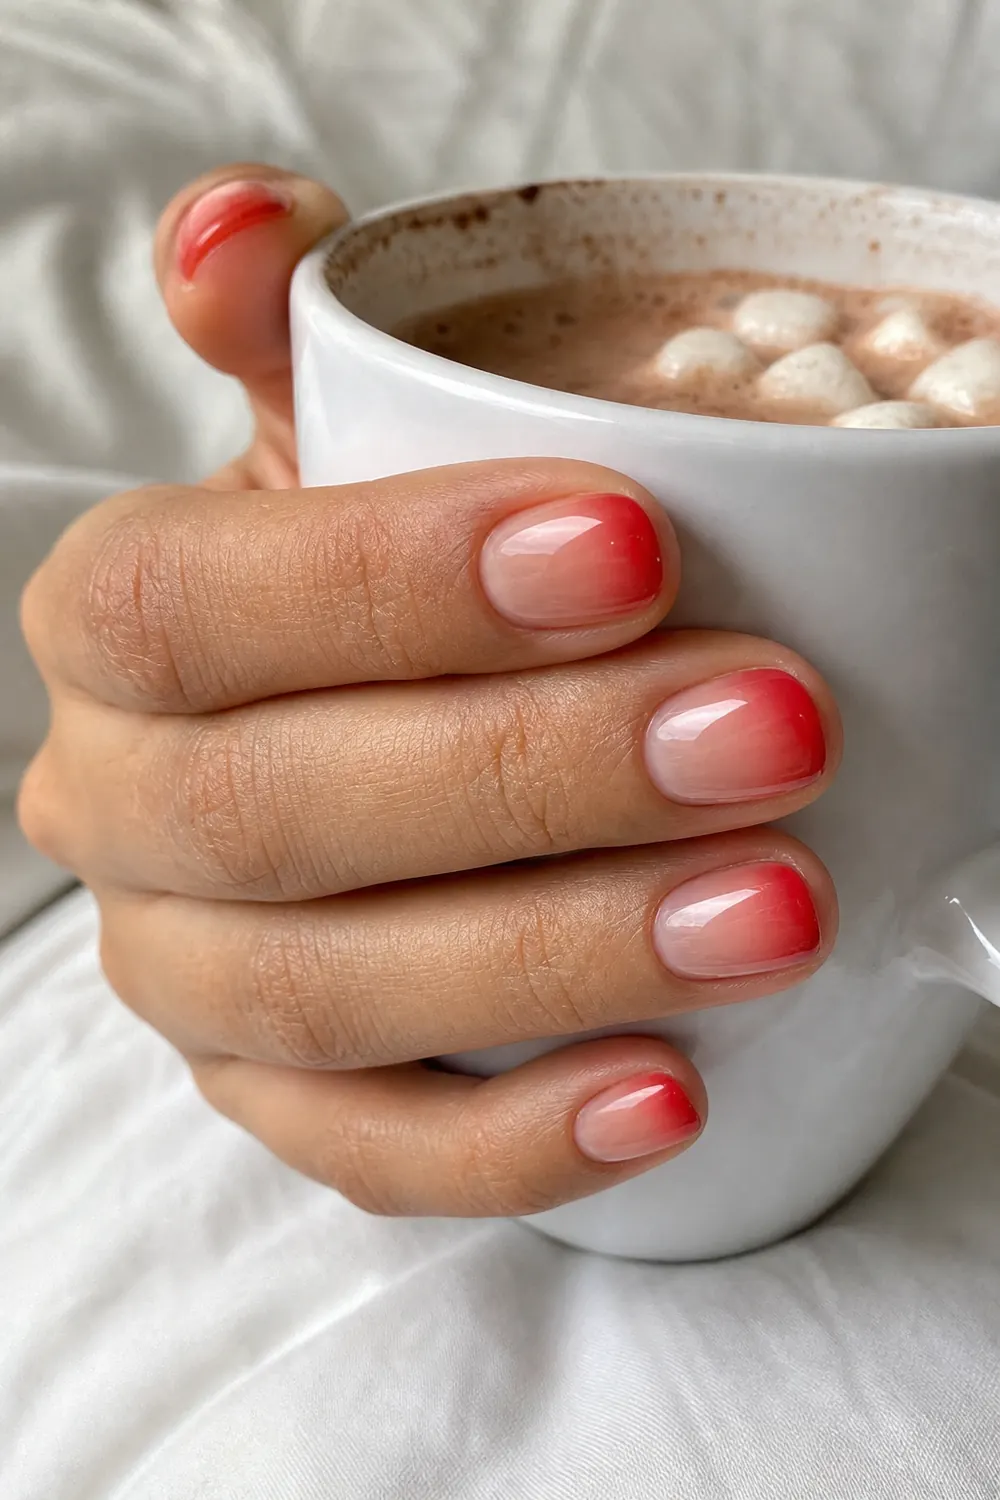
- Difficulty: Easy-medium
- Time: 45–50 min
- Gel polish
A soft fade from sheer nude at the cuticle to red at the tip. With gel, paint the nude, then brush red on the top third of the nail and blend the line upward with a clean, slightly damp brush before curing; repeat for a stronger tip. You can also dab red onto the tips with a small piece of makeup sponge, but clean the skin well before curing.
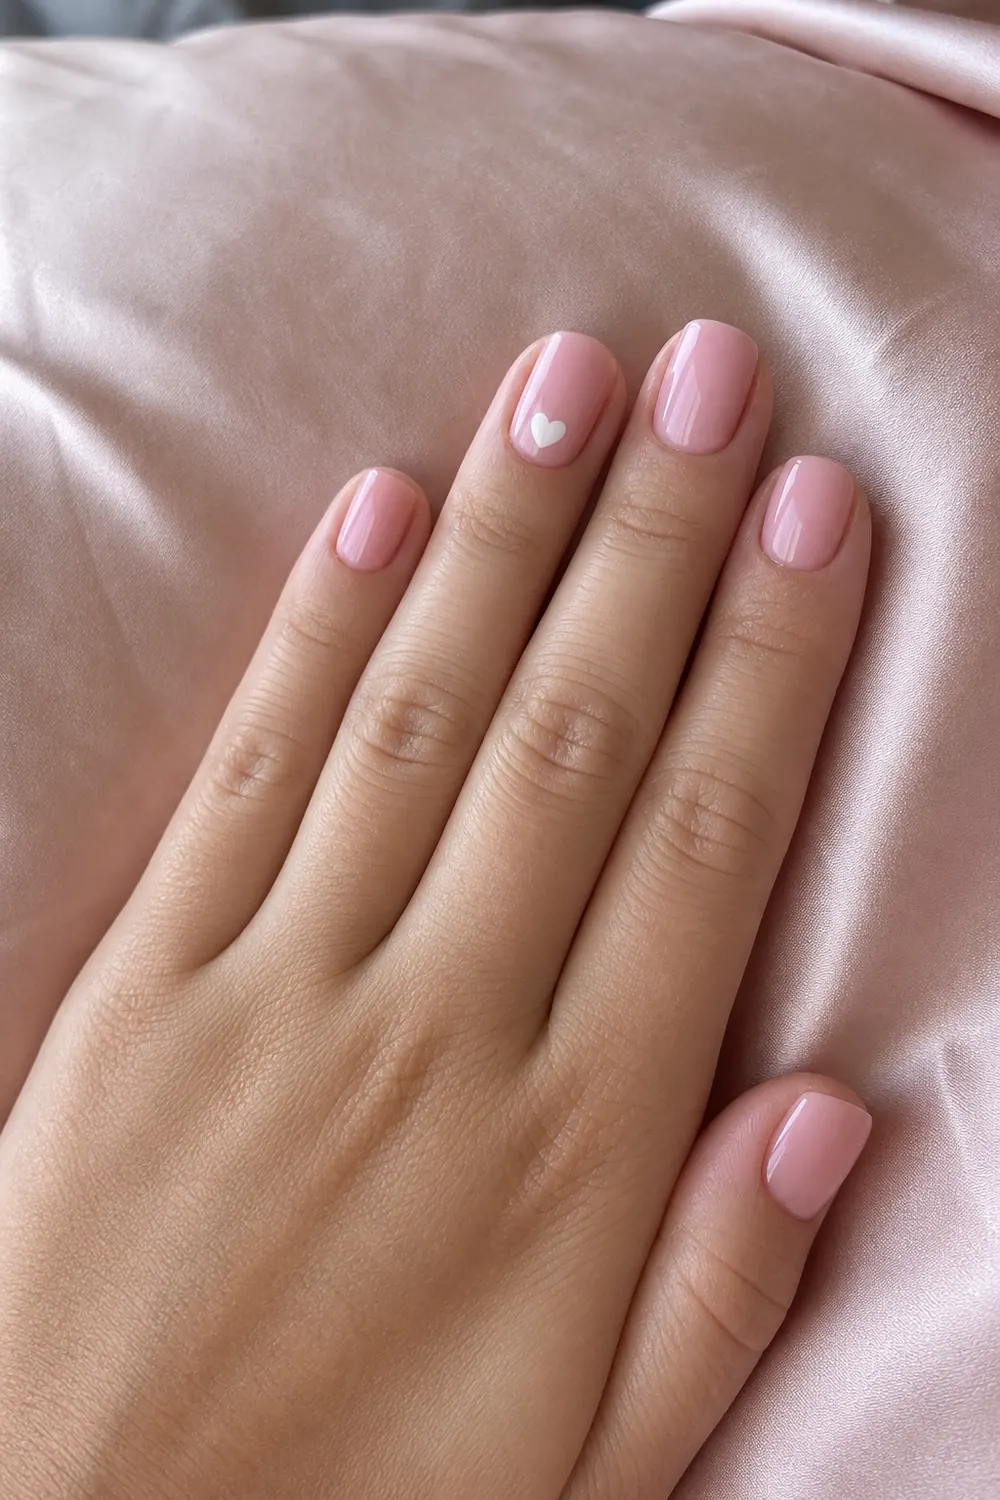
7. Soft Pink with One White Heart Accent
- Difficulty: Easy
- Time: 35–40 min
- Gel polish
Glossy soft pink on every nail and one small white heart on the ring finger, sweet and very low effort. White gel can be runny, so use a thicker gel or a liner gel for the heart if you have one. Make the two dots first, drag them into a point and cure right away.
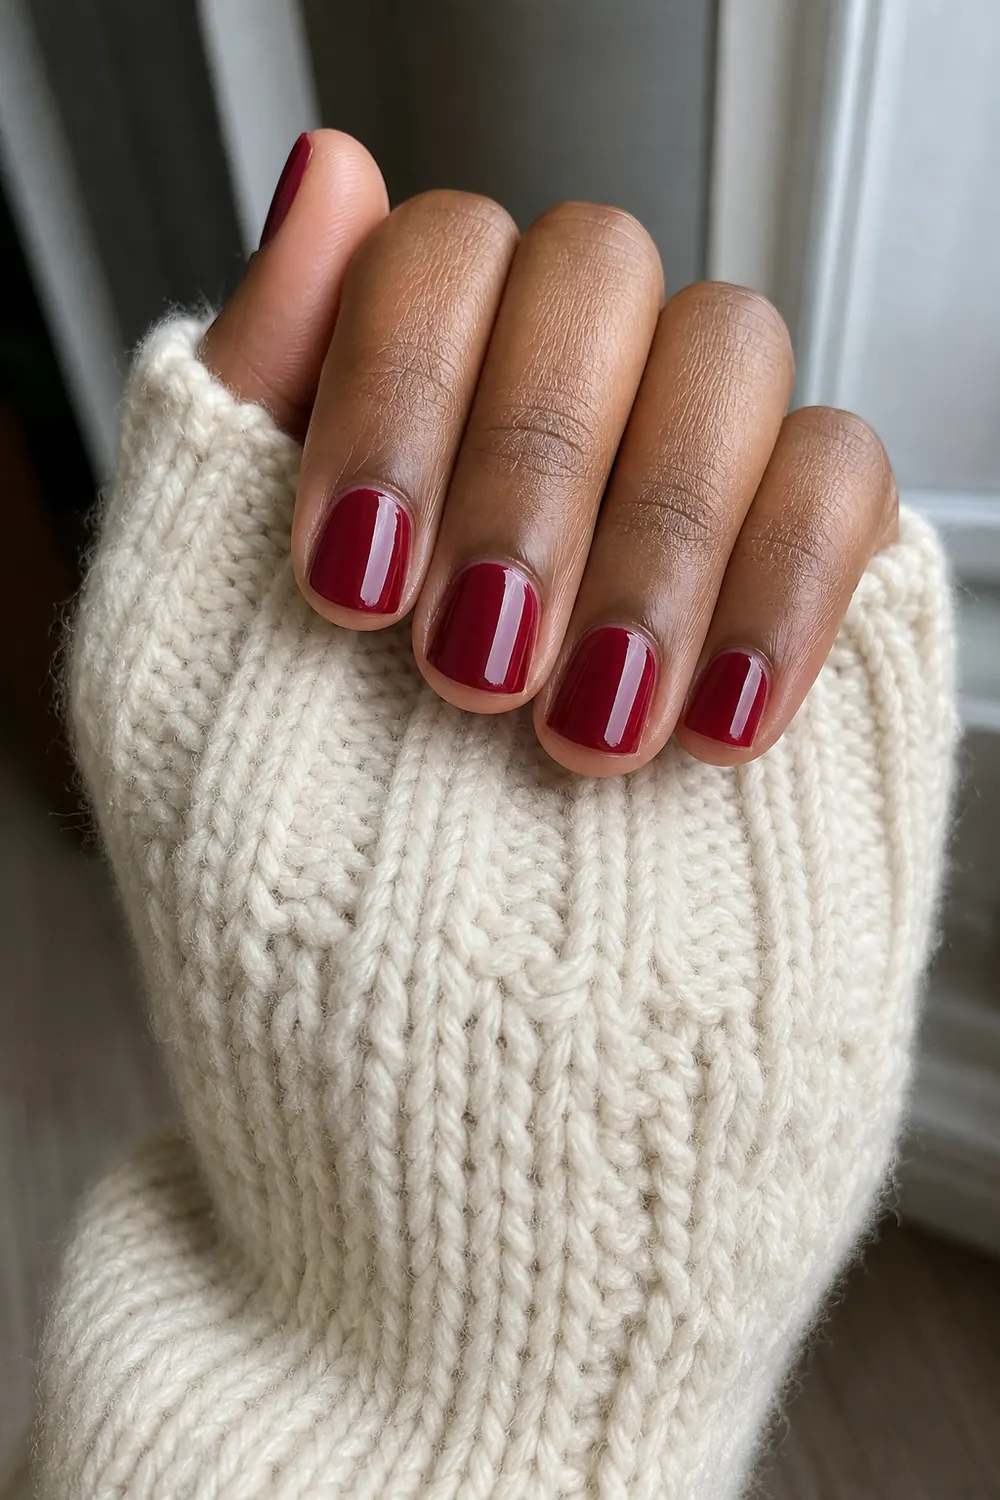
8. Deep Cranberry Red Gel
- Difficulty: Easy
- Time: 35 min
- Gel polish
A single deep cranberry red, which is the simplest way to practice the routine for Valentine's Day. Dark gels are highly pigmented, so two thin coats are usually enough. Leave a tiny gap at the cuticle and clean the edges before each cure, since dark red on skin shows right away.
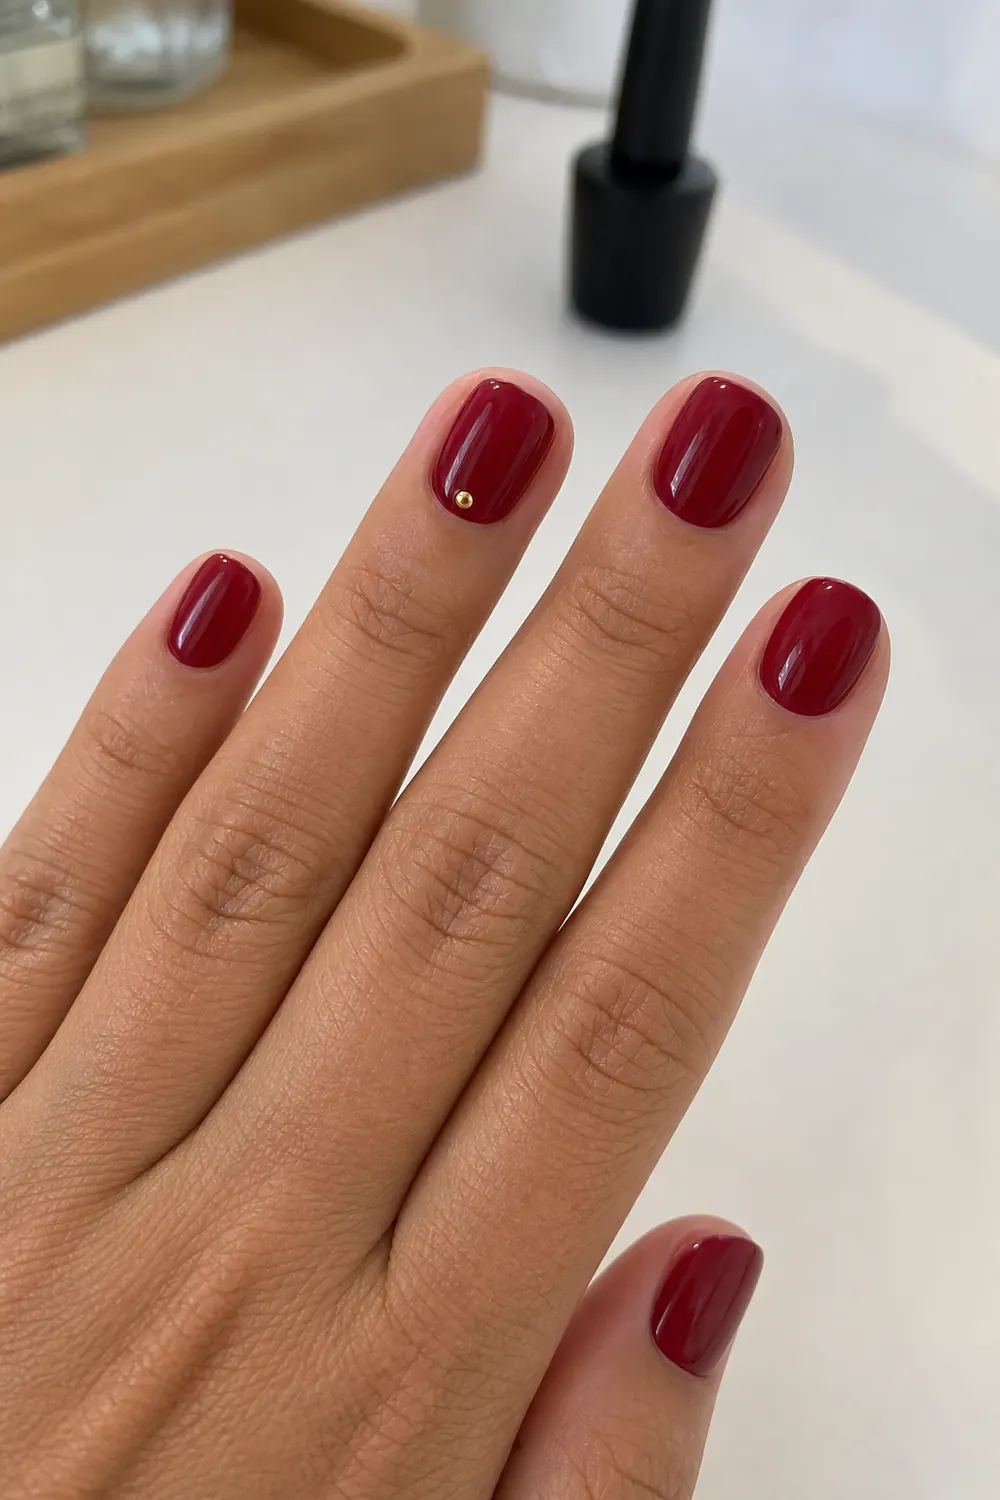
9. Cranberry Gel with One Gold Dot
- Difficulty: Easy
- Time: 40 min
- Gel polish
The same cranberry red with one small gold dot near the cuticle on the ring finger. Use a gold gel or a gold metallic polish on a dotting tool, place the dot, then cure (or let polish dry fully) before top coat. One dot looks more polished when it sits in the center, just above the cuticle.
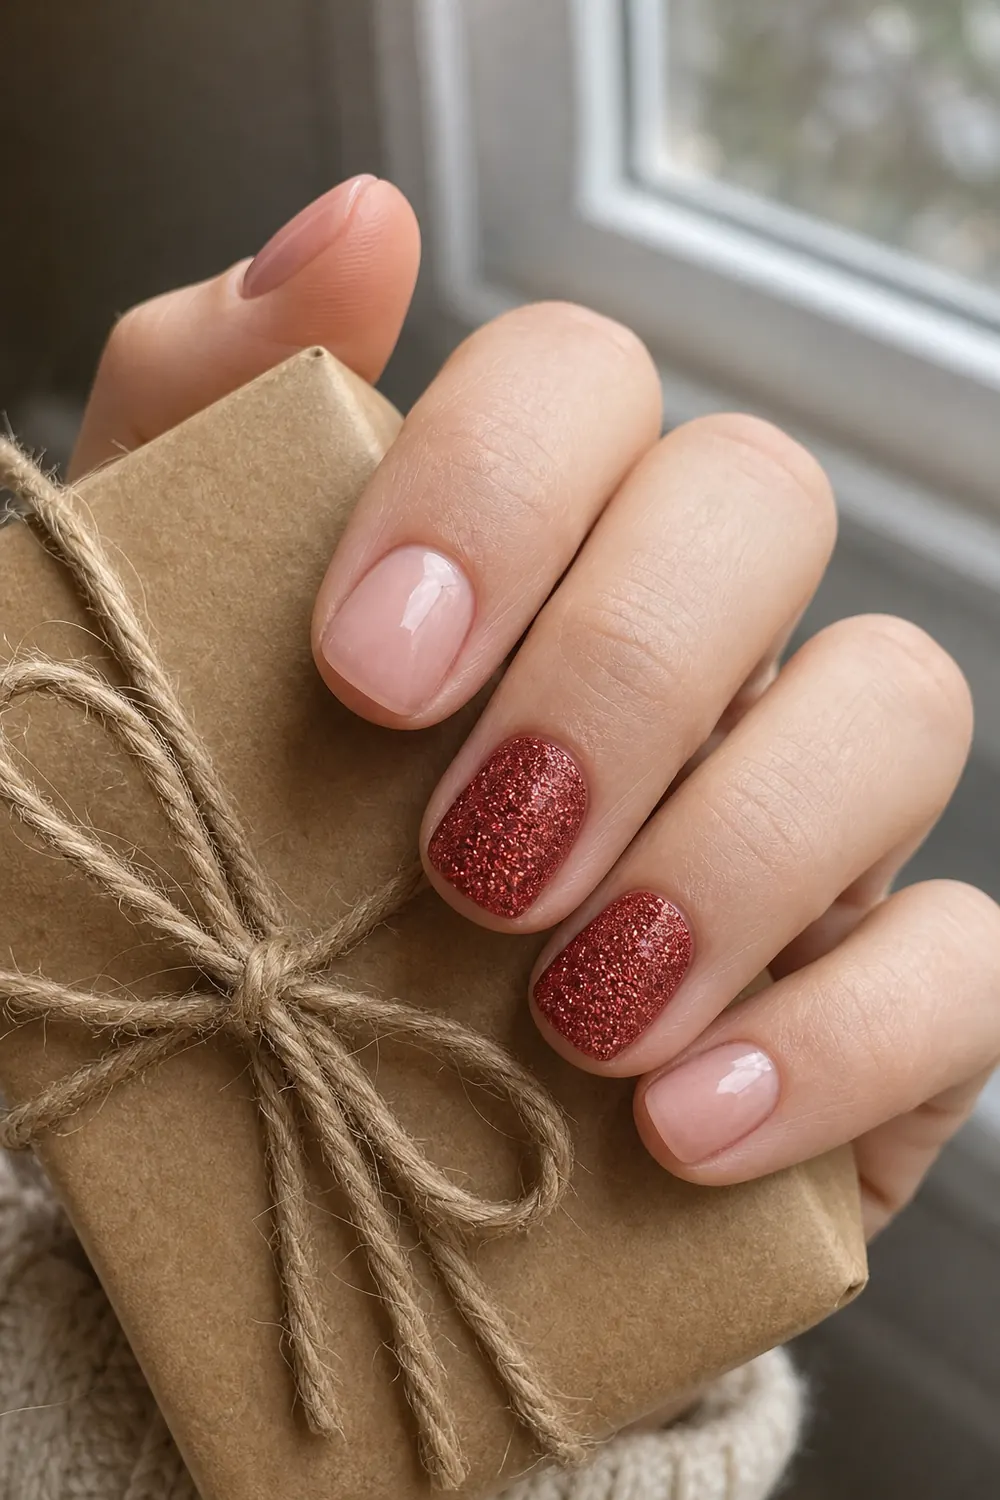
10. Nude Pink with Red Glitter Accent Nails
- Difficulty: Easy
- Time: 40 min
- Gel polish + glitter gel
Sheer nude pink on most nails and fine red glitter on the middle and ring fingers. Build the glitter in two thin coats, curing in between, so it covers without getting lumpy. Add an extra layer of top coat to the glitter nails to keep them smooth.
11. Nude Base with a Tiny Red Center Dot
- Difficulty: Easy
- Time: 40 min
- Gel polish
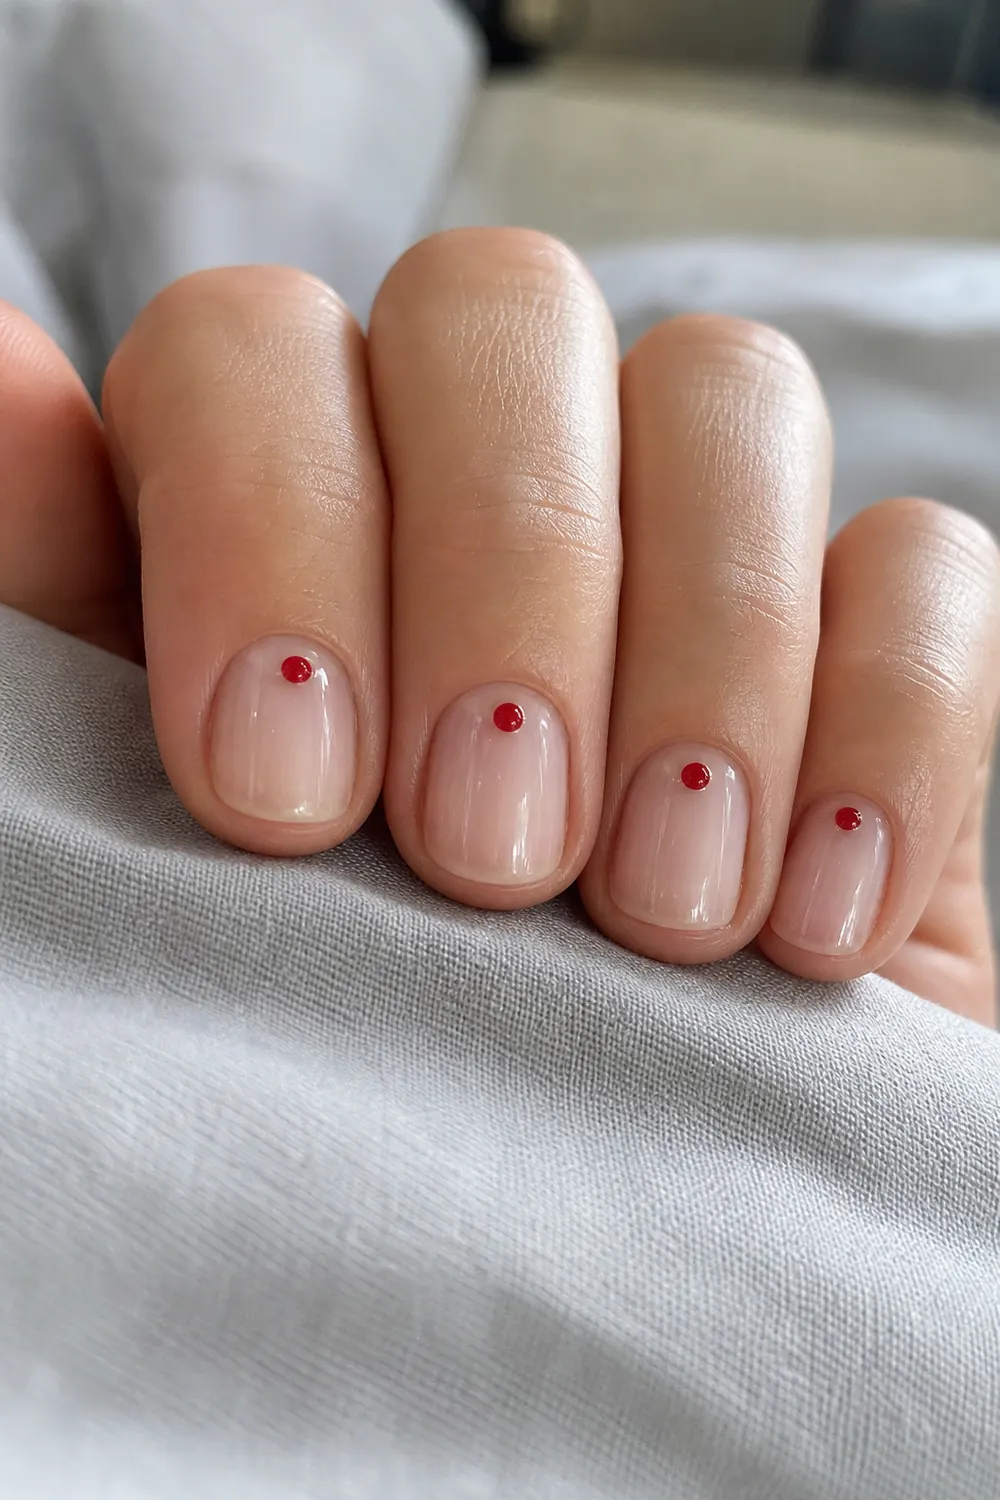
A sheer natural nude with one small bright red dot near the cuticle on each nail, a minimal look that still says Valentine's. Use the same dotting tool and the same amount of gel for every dot so they match. Place them all first, check that they line up, then cure.
12. Soft Pink with a Tiny Burgundy Bow
- Difficulty: Easy-medium
- Time: 45 min
- Gel polish or gel + nail stickers
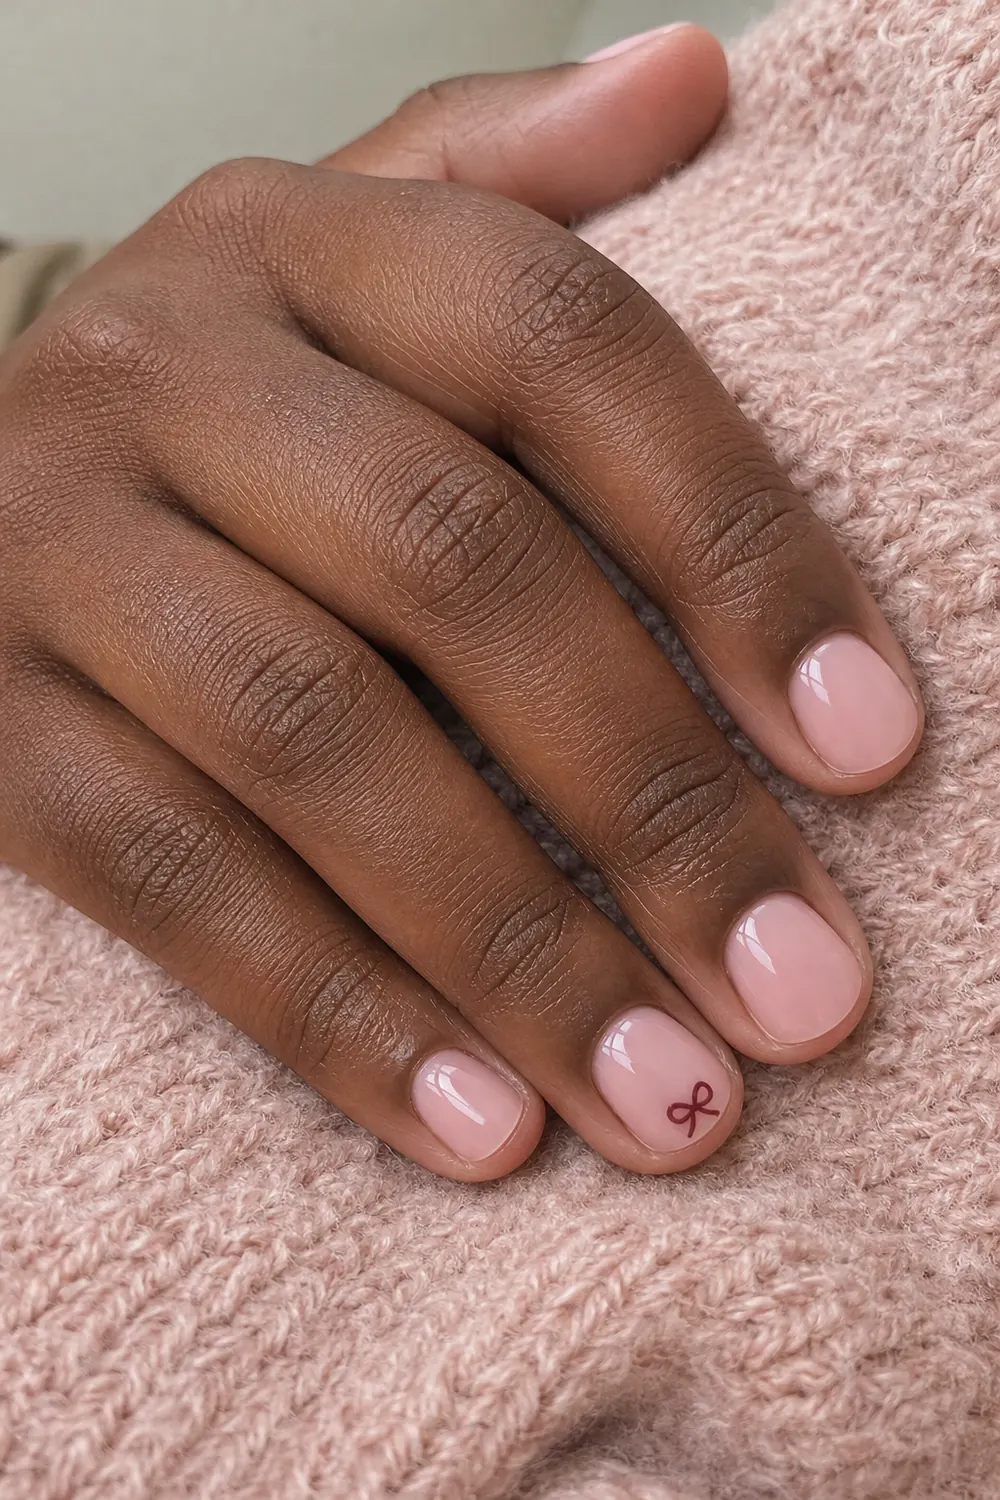
Glossy soft pink with one very small burgundy bow on the ring finger. Paint the bow as two tiny triangles that meet at a dot in the middle, then add two short lines for the ribbon ends with a liner brush. If freehand feels like too much, a small bow sticker sealed under top coat gives the same look.
How to Paint a Tiny Heart with Gel (Without It Spreading)
Tiny hearts are the core of most easy DIY Valentine gel nails, and gel behaves differently from regular polish: it doesn’t dry in the air, so it keeps moving until you cure it. That’s helpful (you can wipe off a bad heart and try again) but it also means hearts can soften into blobs if you wait. A few habits help:
- Use less gel than you think. Put a small drop of color on foil or a palette and dip only the tip of the dotting tool. A heart needs very little.
- Make two dots, then drag. Place two small dots side by side, touching. Pull the bottom of both down to a point with a toothpick or the tip of the tool in one short stroke.
- Cure one or two nails at a time. Paint a heart, look at it, and cure it right away. Don’t paint all ten and then cure.
- Pick a thicker gel for art. Some color gels are runny. A liner or art gel holds its shape better; a heart in regular polish that has fully dried and is sealed under top coat also works.
- Wipe the tool between hearts so old gel doesn’t build up and make the dots bigger.
If you’re new to nail art in general, practice a row of hearts on foil or paper first. It takes a few minutes and makes the real ones much neater. For more short looks in polish or gel, see short Valentine’s nails.
Gel Safety Basics
Keep it simple and consistent:
- Follow your lamp’s and each product’s instructions for curing times. Different gels and lamps need different times.
- Keep gel off your skin and cuticles. Uncured gel on skin can lead to an allergy to acrylates, which can make it hard to use gel products later. Clean up spills with a small brush before you cure, not after.
- Ventilate the room while you work, and close bottles between uses.
- Don’t peel your gel off. When you’re ready to remove it, follow your product’s removal instructions. Peeling can take layers of your natural nail with it.
- Thin layers help. If curing ever feels hot, take your hand out of the lamp for a few seconds, then finish; thinner layers make this less likely.
If you’re still putting your kit together, the gel nails at home kit guide covers the basic tools. The same routine works for every holiday, so if you tried easy DIY Christmas gel nails, you already know the steps.
FAQ
Can beginners do Valentine gel nails at home?
Yes. With a home lamp, good prep and thin coats, gel is very doable for beginners. Start with a one-color set like cranberry red or a single heart accent before trying ombre or builder gel.
What are easy builder gel nail ideas for Valentine’s?
A strawberry milk overlay with tiny red hearts, a sheer pink overlay with thin red French tips, and a red builder gel structured manicure are all simple on short nails. Practice a plain overlay first, then add details.
Why do my gel hearts spread?
Usually there’s too much gel on the tool, the gel is runny, or you waited too long before curing. Use less gel, try a thicker art gel and cure each nail as soon as the heart looks right.
Do I need a no-wipe top coat?
No, but it’s simpler. A regular gel top coat leaves a sticky layer you wipe off with alcohol after curing, while a no-wipe top coat cures glossy without that step.