Builder Gel Christmas Nails: 15 Short Designs That Last Through the Holidays
Builder gel is a thicker gel that you brush onto your natural nails and cure under an LED/UV lamp. It can add a protective layer and help short nails look smooth and neat, which is why it's popular for holiday sets that need to last a few weeks. In the UK you'll often see it called BIAB, which is a brand name people use for any builder gel; in the US most people just say builder gel.
These 15 builder gel nail ideas for Christmas are all on short natural nails. Most start with a sheer pink, nude or milky overlay and add one small festive detail. The last two are sheer pink looks that weren't designed as builder gel specifically, but you can easily recreate them with a sheer builder gel base.
Nail designs in this post are AI-generated illustrations for inspiration, not photos of real manicures. About our images
What You Need
- LED/UV nail lamp
- Builder gel in sheer pink, nude or milky white (plus a red, burgundy or colored builder gel if you like)
- Gel base coat (if your builder gel needs one) and a glossy gel top coat
- Nail file, buffer and lint-free wipes with isopropyl alcohol
- Gel polish in red, green and white for tips and small details
- Dotting tool and thin striping (liner) brush
- Gold foil flakes, fine glitter gel and small star stickers or studs
- Cuticle pusher and a small brush for cleaning up before curing
Builder Gel at Home: The Basic Steps
- PrepPush back cuticles, lightly buff the shine off the nail, and wipe with alcohol. Good prep is what makes builder gel last.
- Base (if needed)Some builder gels need a thin gel base first, others go straight on the nail. Follow your product's instructions and cure.
- Apply builder gelPlace a small bead of builder gel near the middle of the nail and guide it toward the edges, keeping it away from the skin. Turn your hand upside down for a few seconds to let it level, then cure.
- Shape and refineIf your gel leaves a sticky layer, wipe it off, then gently file any bumps and the free edge.
- Design and top coatAdd your French tip, dots or flakes, cure, then finish with a glossy gel top coat and cure again.
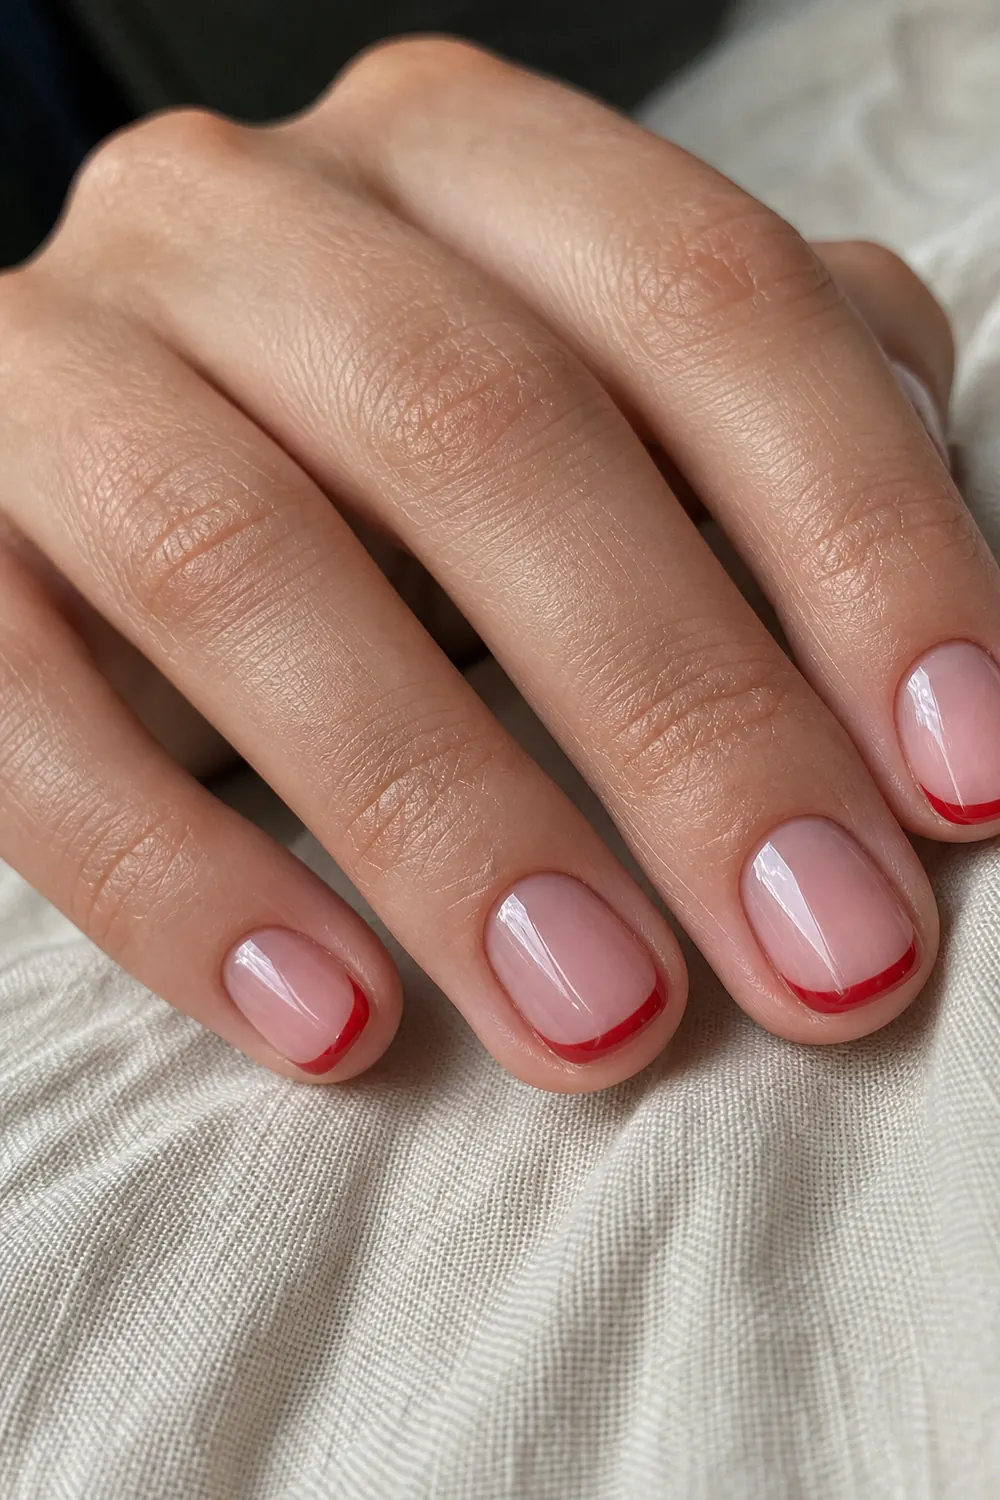
1. Sheer Pink Builder Gel with Red French Tips
- Difficulty: Easy-medium
- Time: 50–60 min
- Builder gel + gel polish
A sheer pink builder gel overlay with thin red tips is the most wearable builder gel Christmas design. Build and cure the pink overlay first, then draw a thin red tip with a liner brush and red gel polish. Clean the inner line with a brush dipped in alcohol before curing, then top coat.
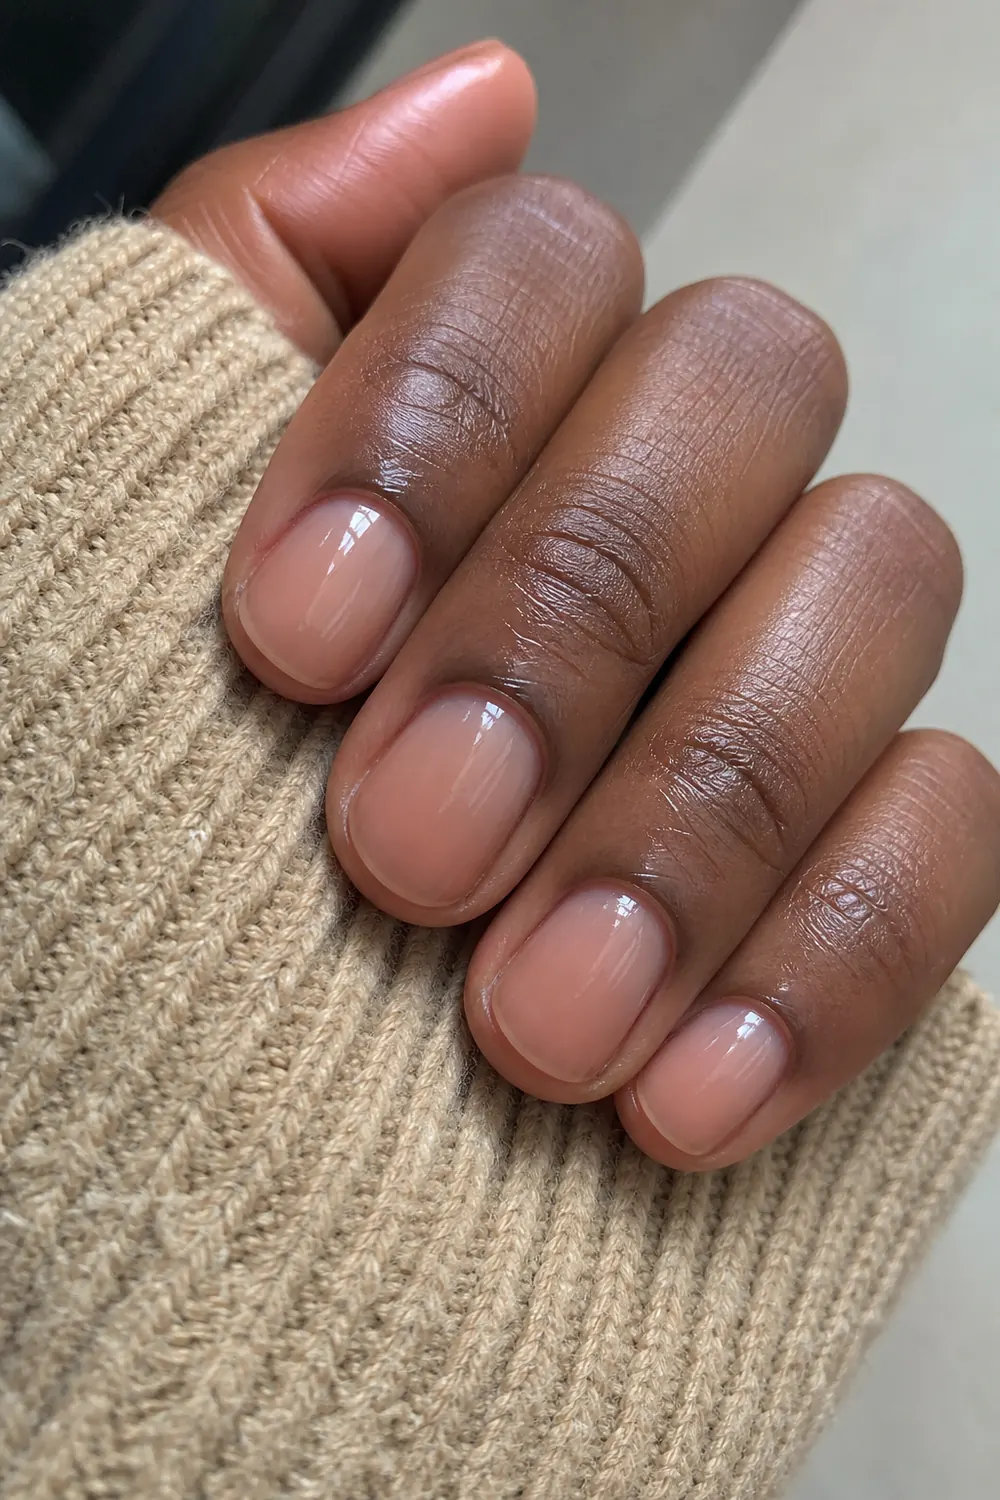
2. Natural Nude Builder Gel Overlay
- Difficulty: Easy
- Time: 40–50 min
- Builder gel
A plain sheer nude overlay is the base for every other design here, and on its own it looks clean for holiday photos and work events. Use thin layers and let each one level before curing. The goal is a smooth, slightly curved surface, not a thick bump.
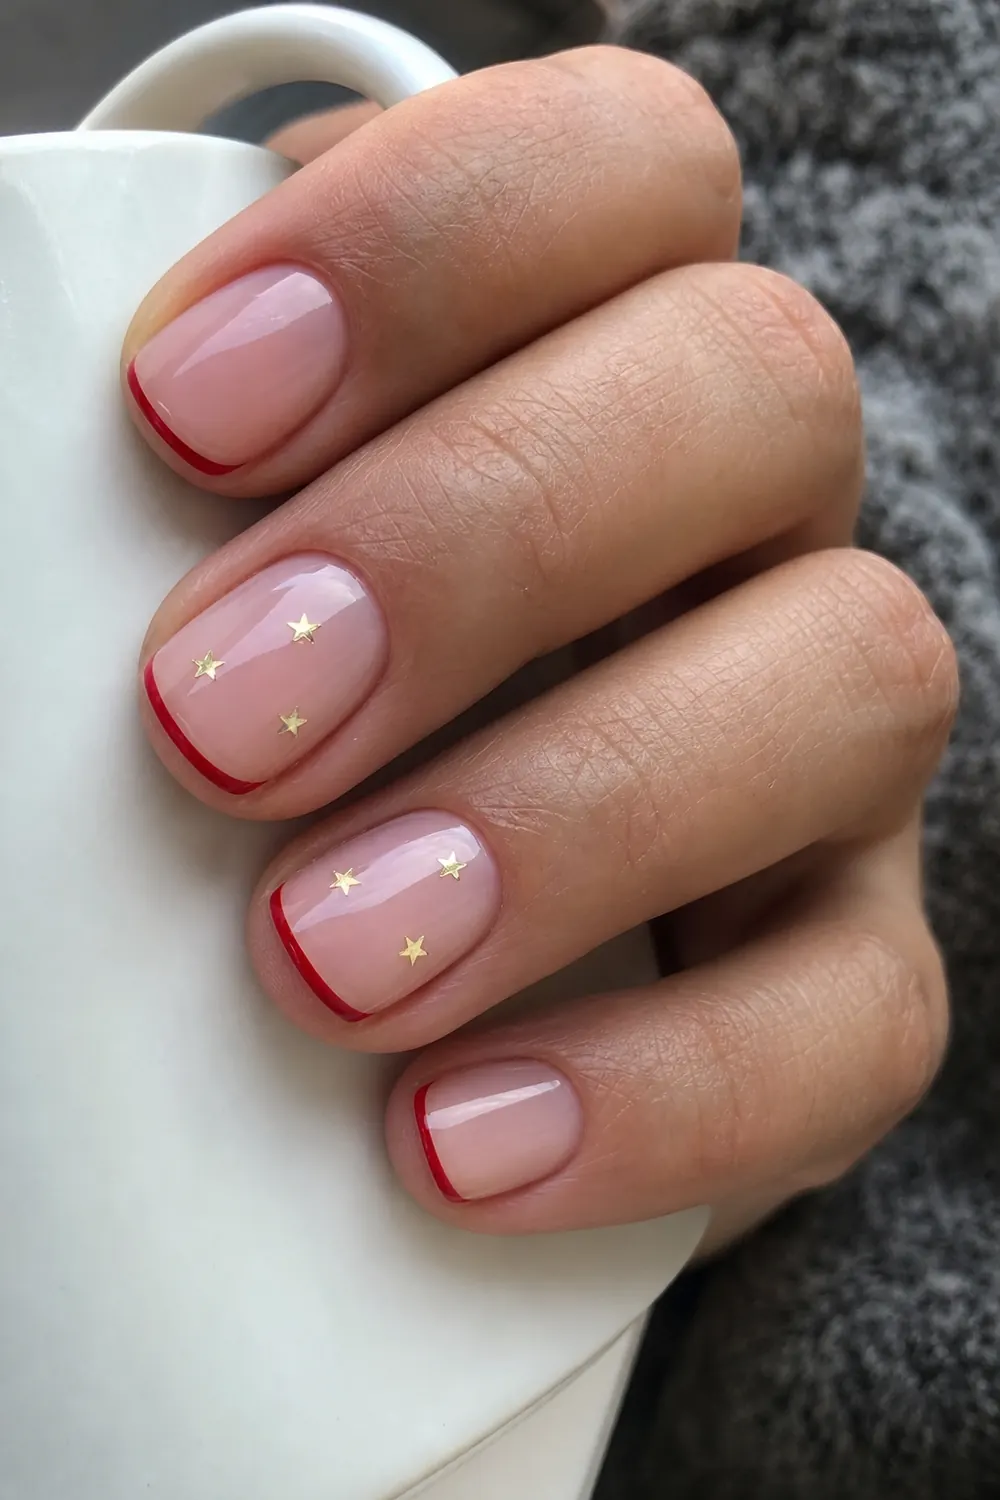
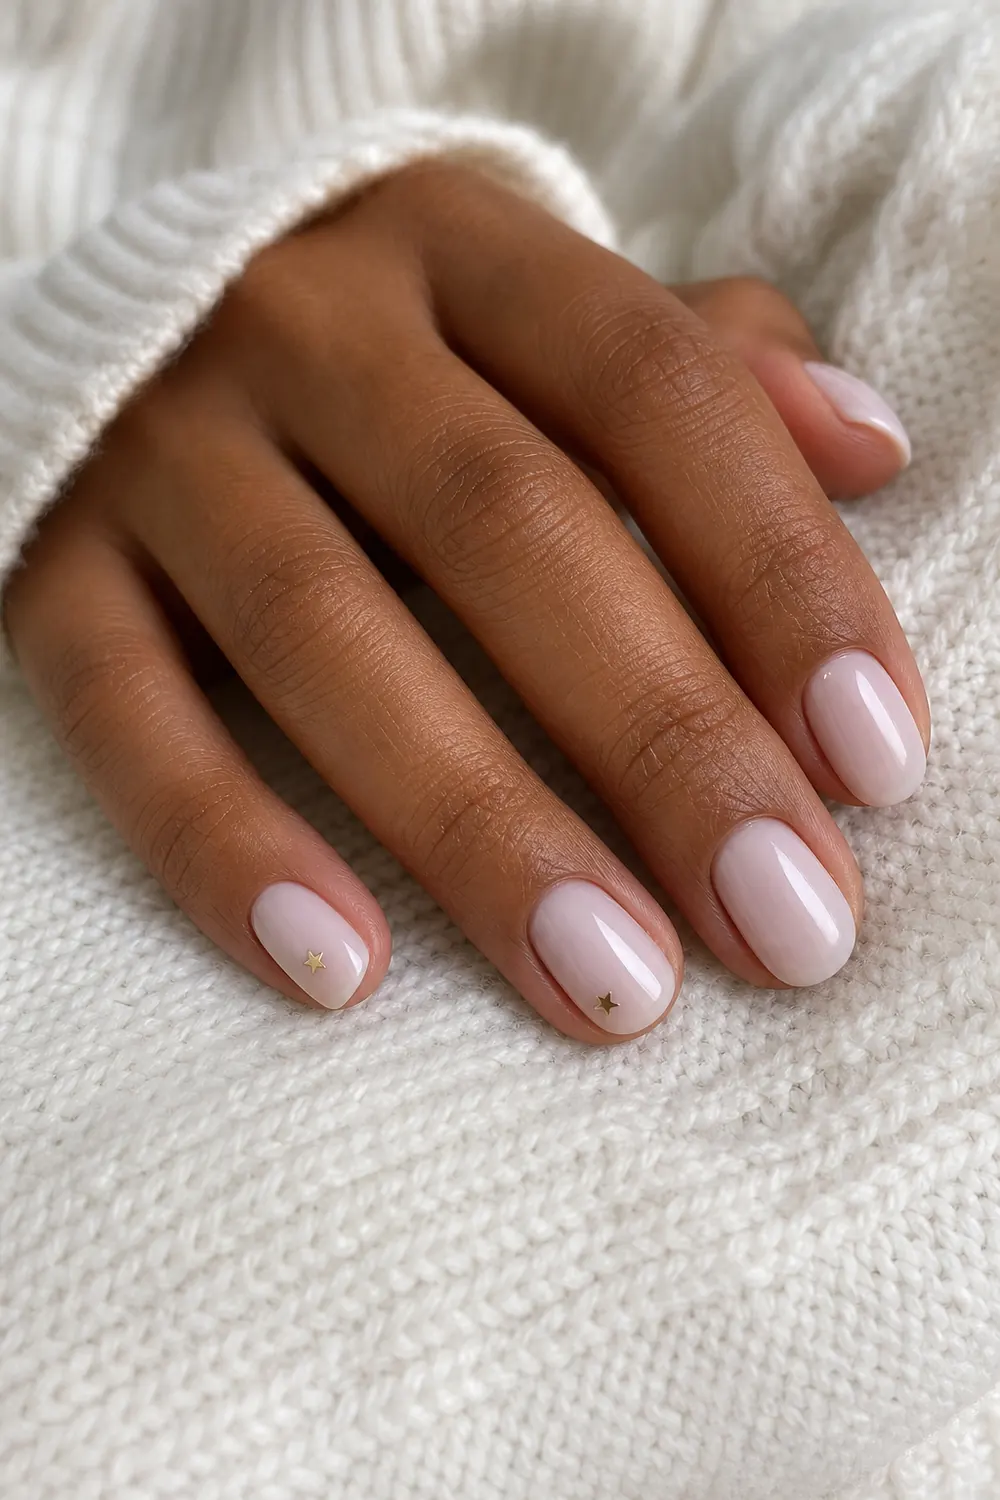
3. Milky White Builder Gel with Tiny Gold Stars
- Difficulty: Easy
- Time: 45–55 min
- Builder gel + nail stickers
Milky white builder gel with a few tiny gold stars feels festive and soft. After curing the overlay, press small gold star stickers or studs onto a thin layer of uncured top coat, cure, then add one more layer of top coat to seal the edges.
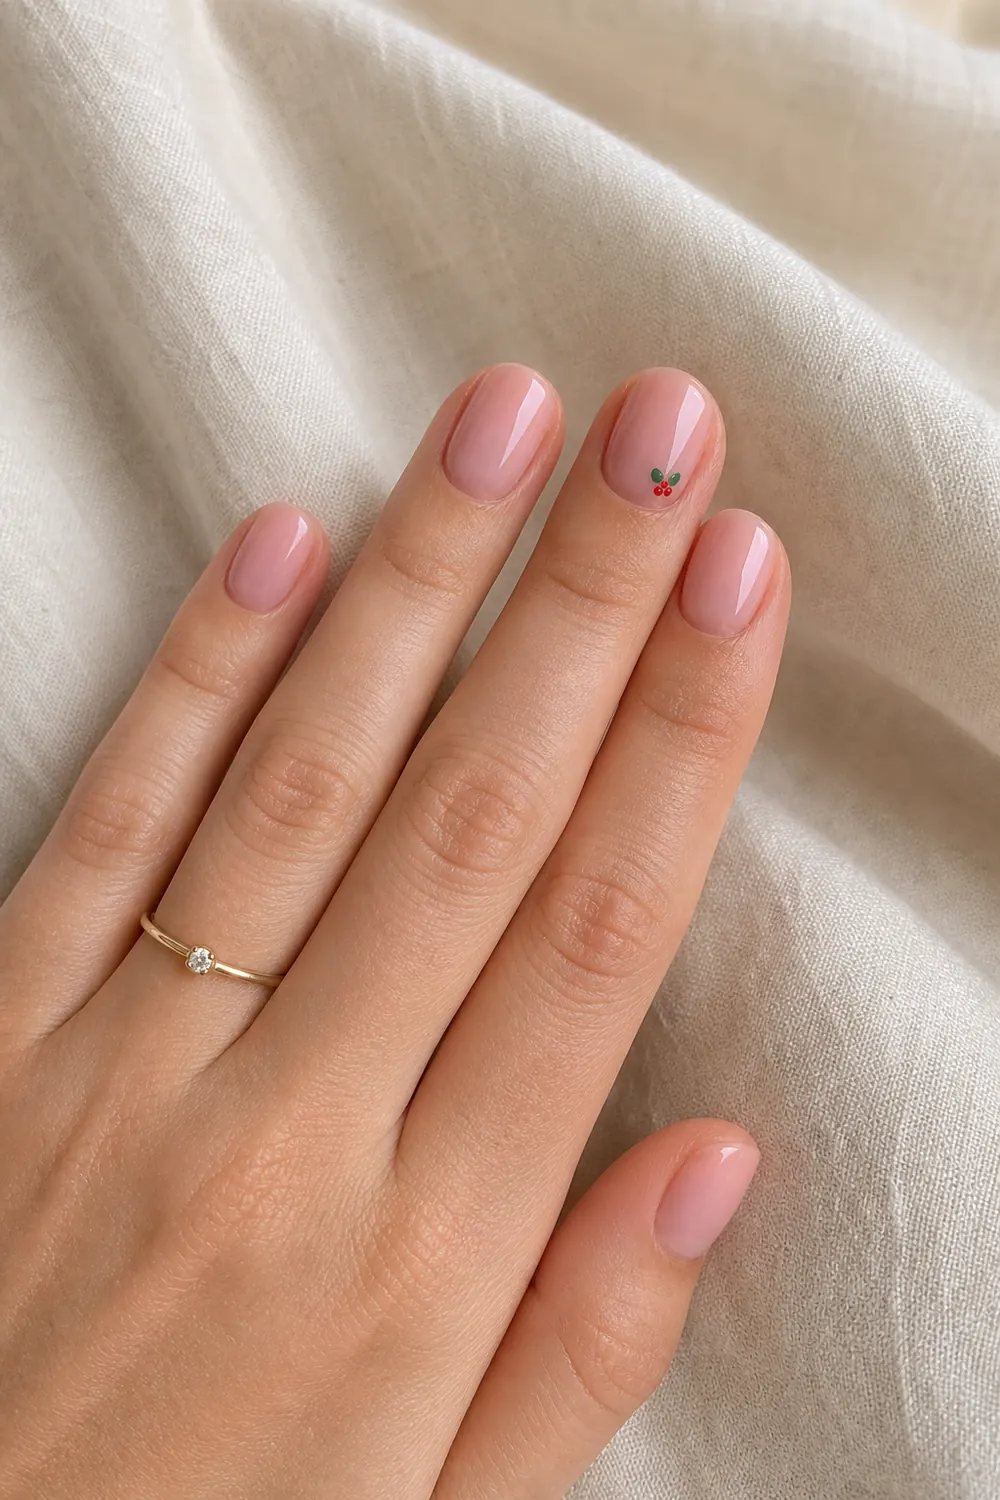
4. Sheer Pink Builder Gel with Tiny Holly
- Difficulty: Easy
- Time: 45–55 min
- Builder gel + gel polish
Tiny holly made of two green dots and three red dots is one of the simplest Christmas nail art details. Over the cured pink overlay, place the green dots as leaves with a dotting tool and add the red berries above them. Cure the dots before top coat so they keep their shape.
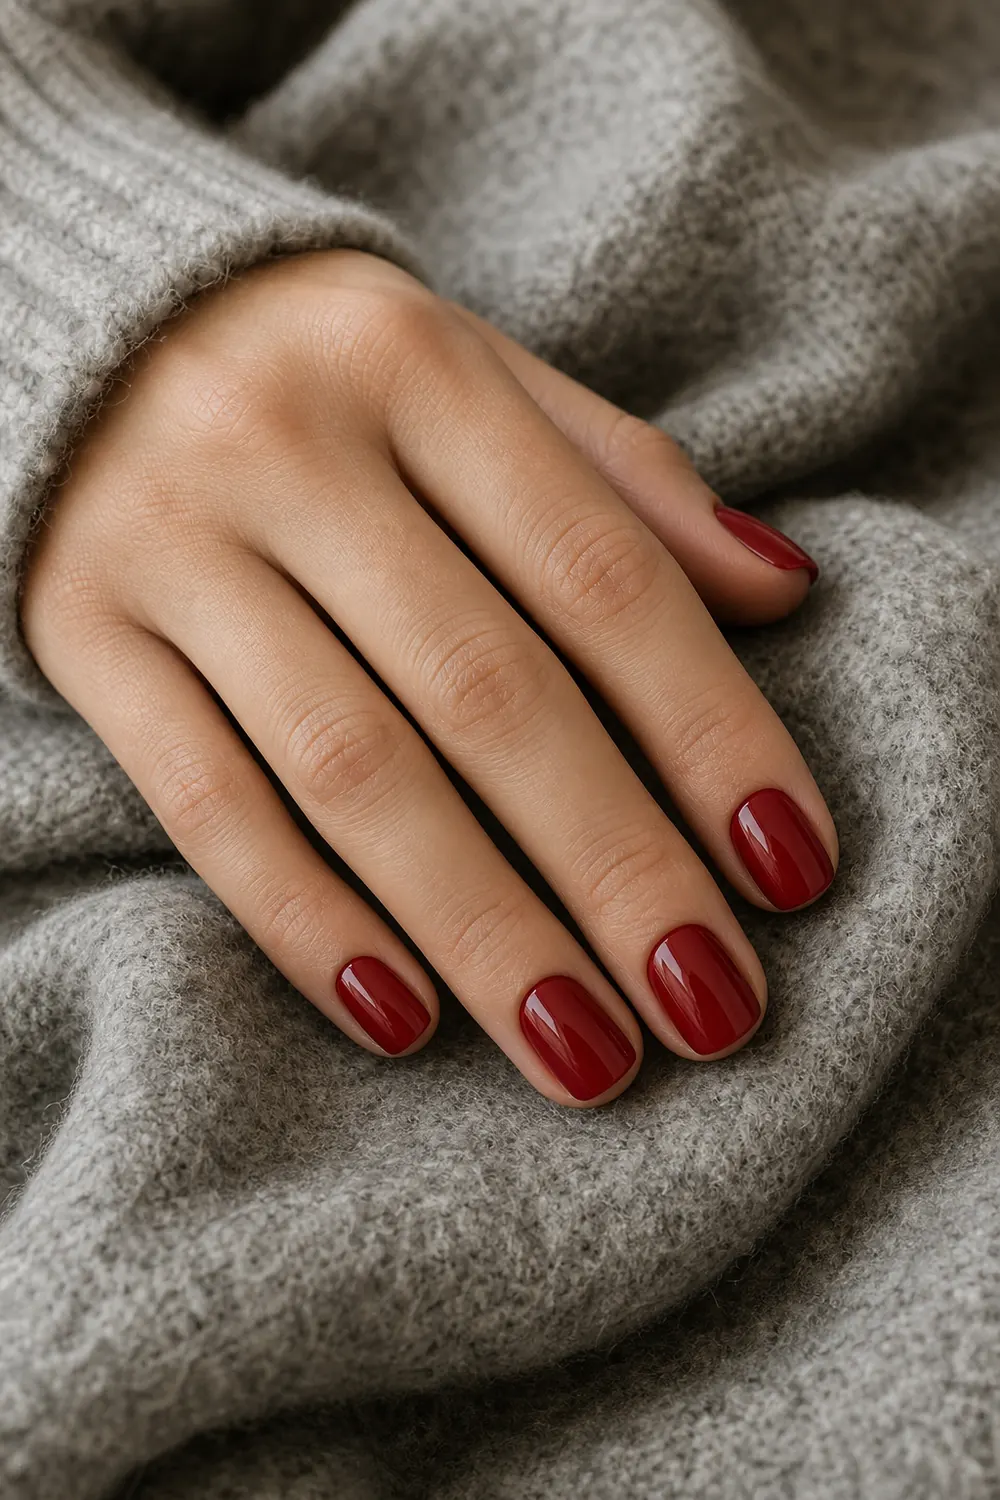
5. Red Builder Gel Structured Manicure
- Difficulty: Medium
- Time: 50–60 min
- Builder gel
A structured manicure means the builder gel is shaped with a gentle curve, slightly thicker near the middle of the nail. Using a red builder gel gives color and structure in one step. Red shows any uneven spots, so build in thin layers and file gently if needed before top coat.
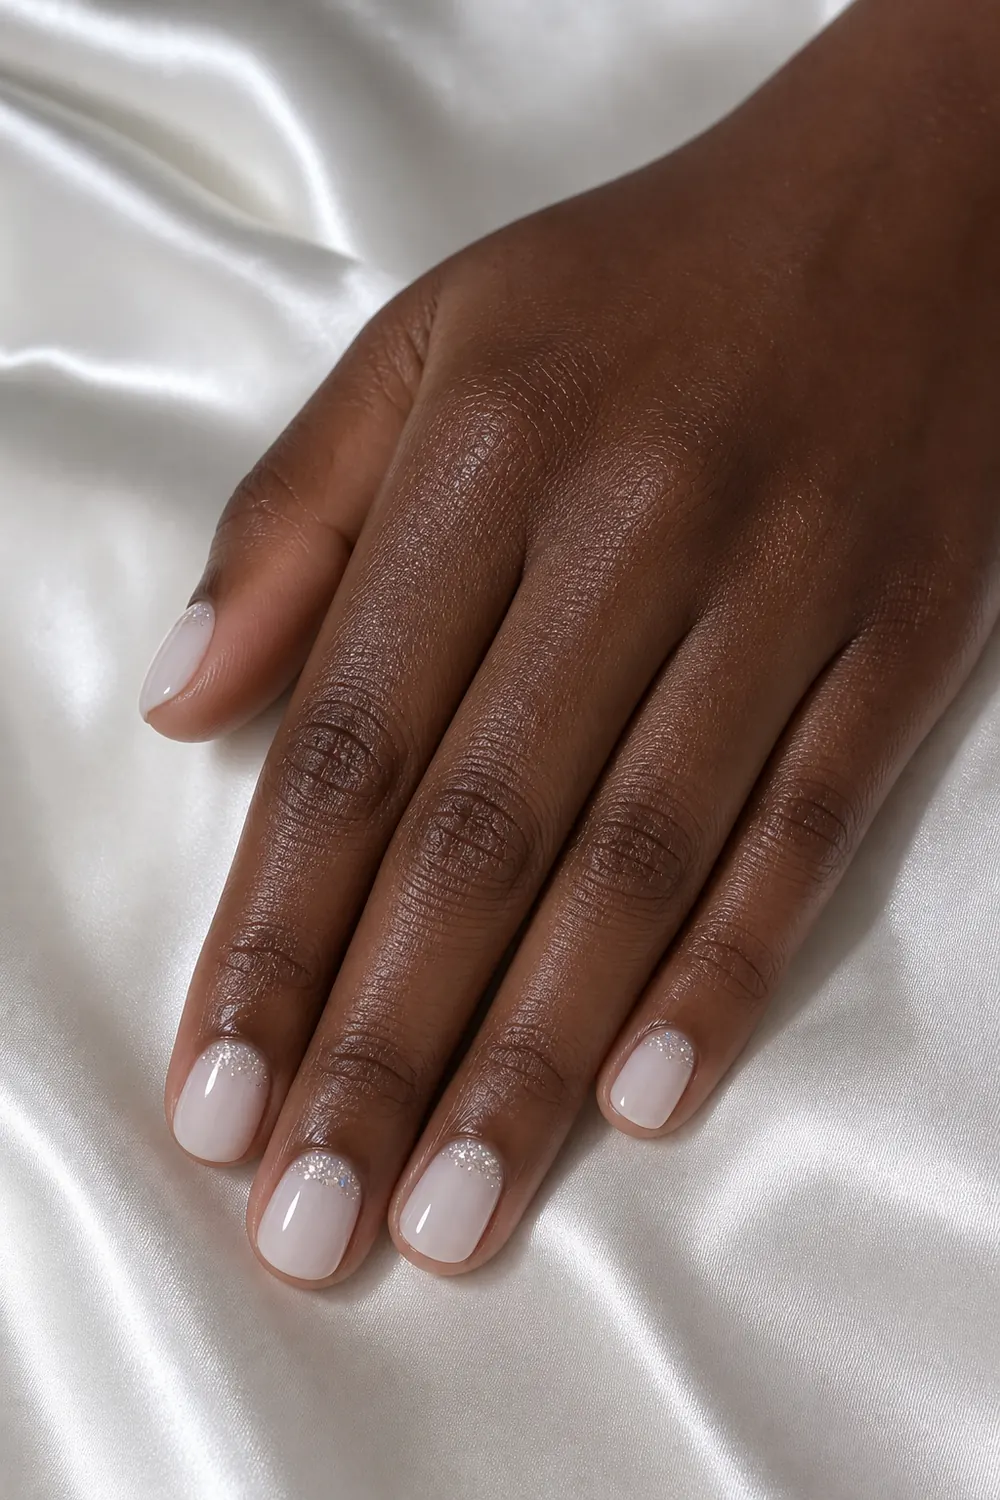
6. Milky Builder Gel with Silver Cuticle Glitter
- Difficulty: Easy-medium
- Time: 45–55 min
- Builder gel + glitter gel
Silver glitter at the base of the nail, near the cuticle, is a twist on the usual glitter tip and hides regrowth nicely as the set grows out. Brush fine glitter gel near the base and fade it upward with a small brush, keeping it off the skin. Cure, then top coat.
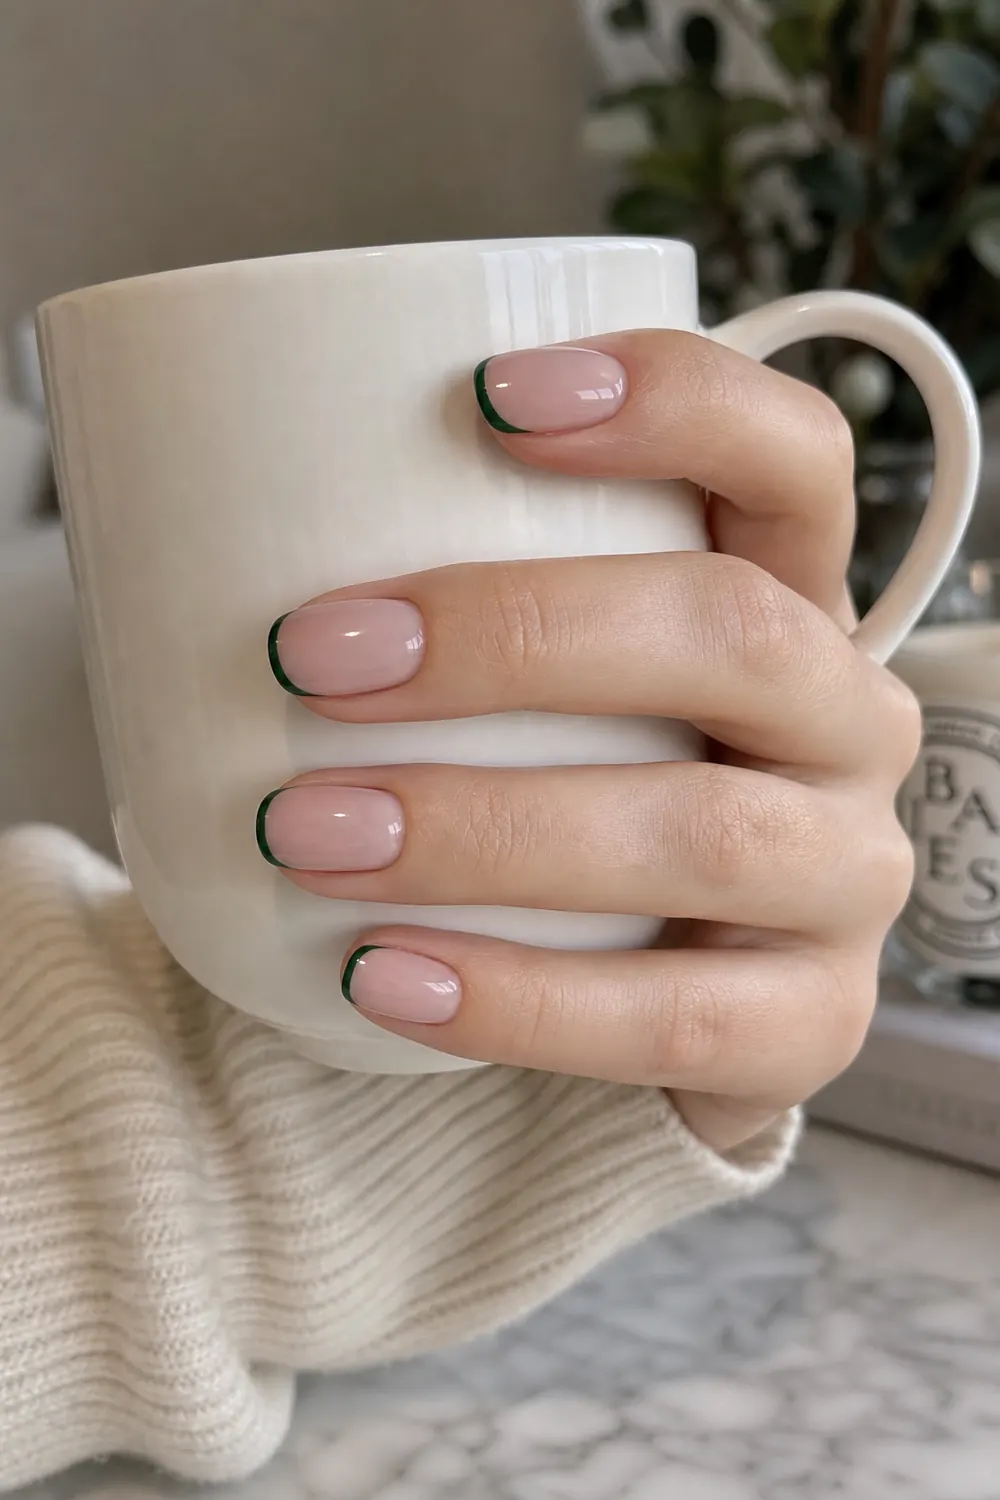
7. Sheer Pink Builder Gel with Deep Green French Tips
- Difficulty: Easy-medium
- Time: 50–60 min
- Builder gel + gel polish
Deep green tips on a sheer pink overlay are a fresh change from red. Draw the tips with a liner brush and green gel polish, following the curve of your free edge. If one tip comes out thicker, match the others to it rather than trying to fix the thick one.
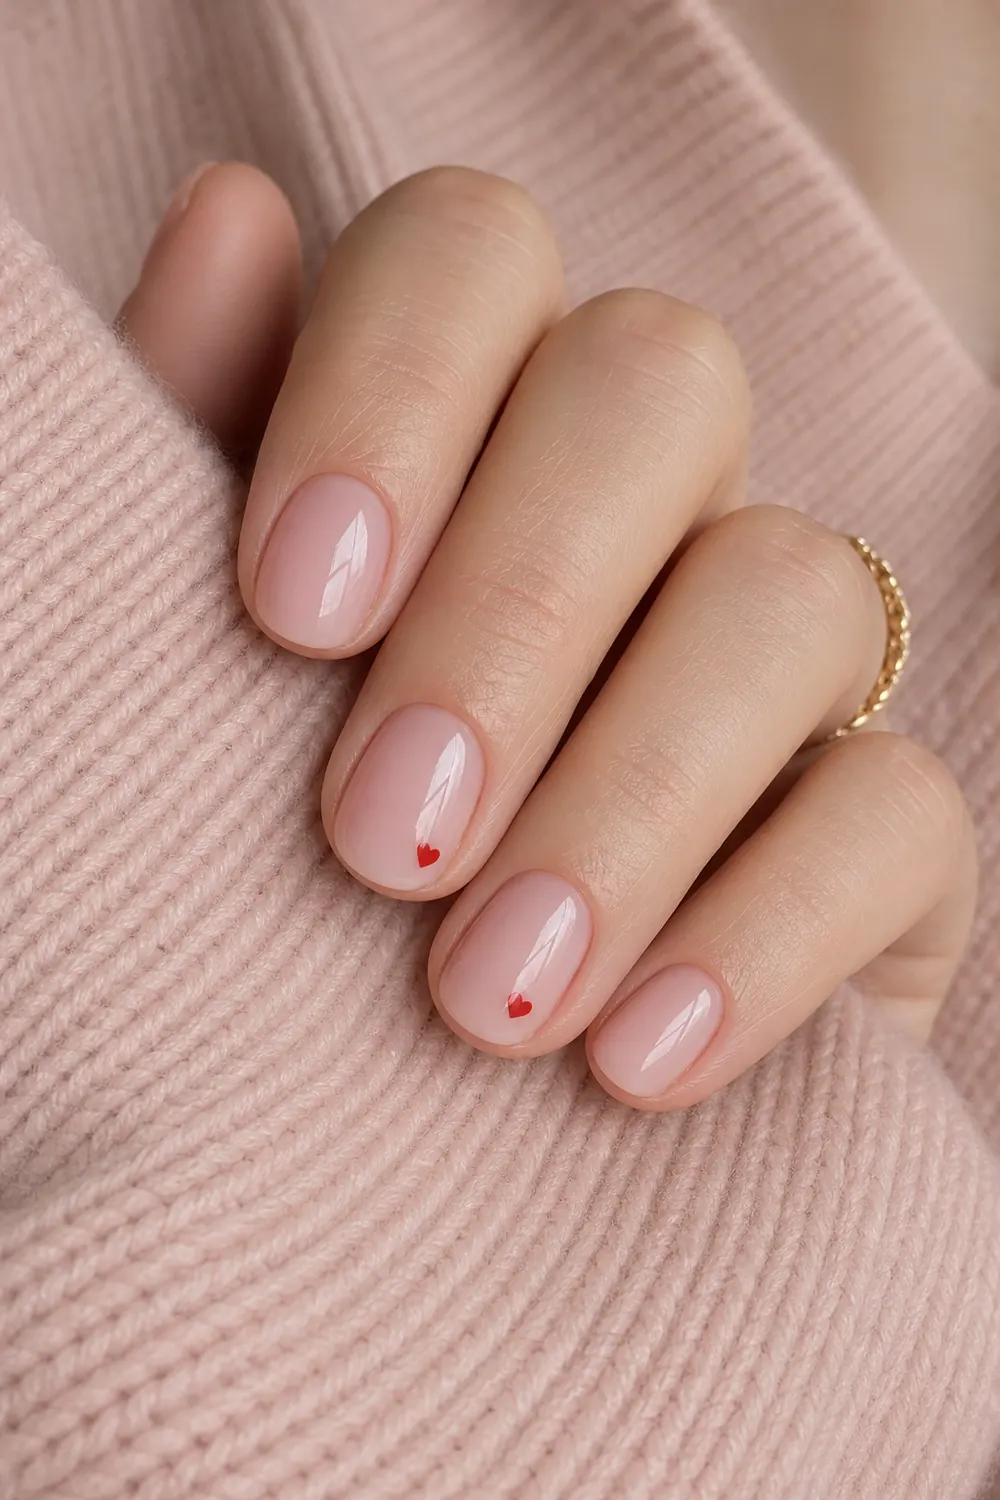
8. Strawberry Milk Builder Gel with Tiny Red Hearts
- Difficulty: Easy-medium
- Time: 45–55 min
- Builder gel + gel polish
Strawberry milk pink is a milky, slightly warm pink that looks sweet for the holidays. Add a tiny red heart to a couple of nails: two dots side by side, pulled down to a point with a toothpick. Cure the hearts before top coat.
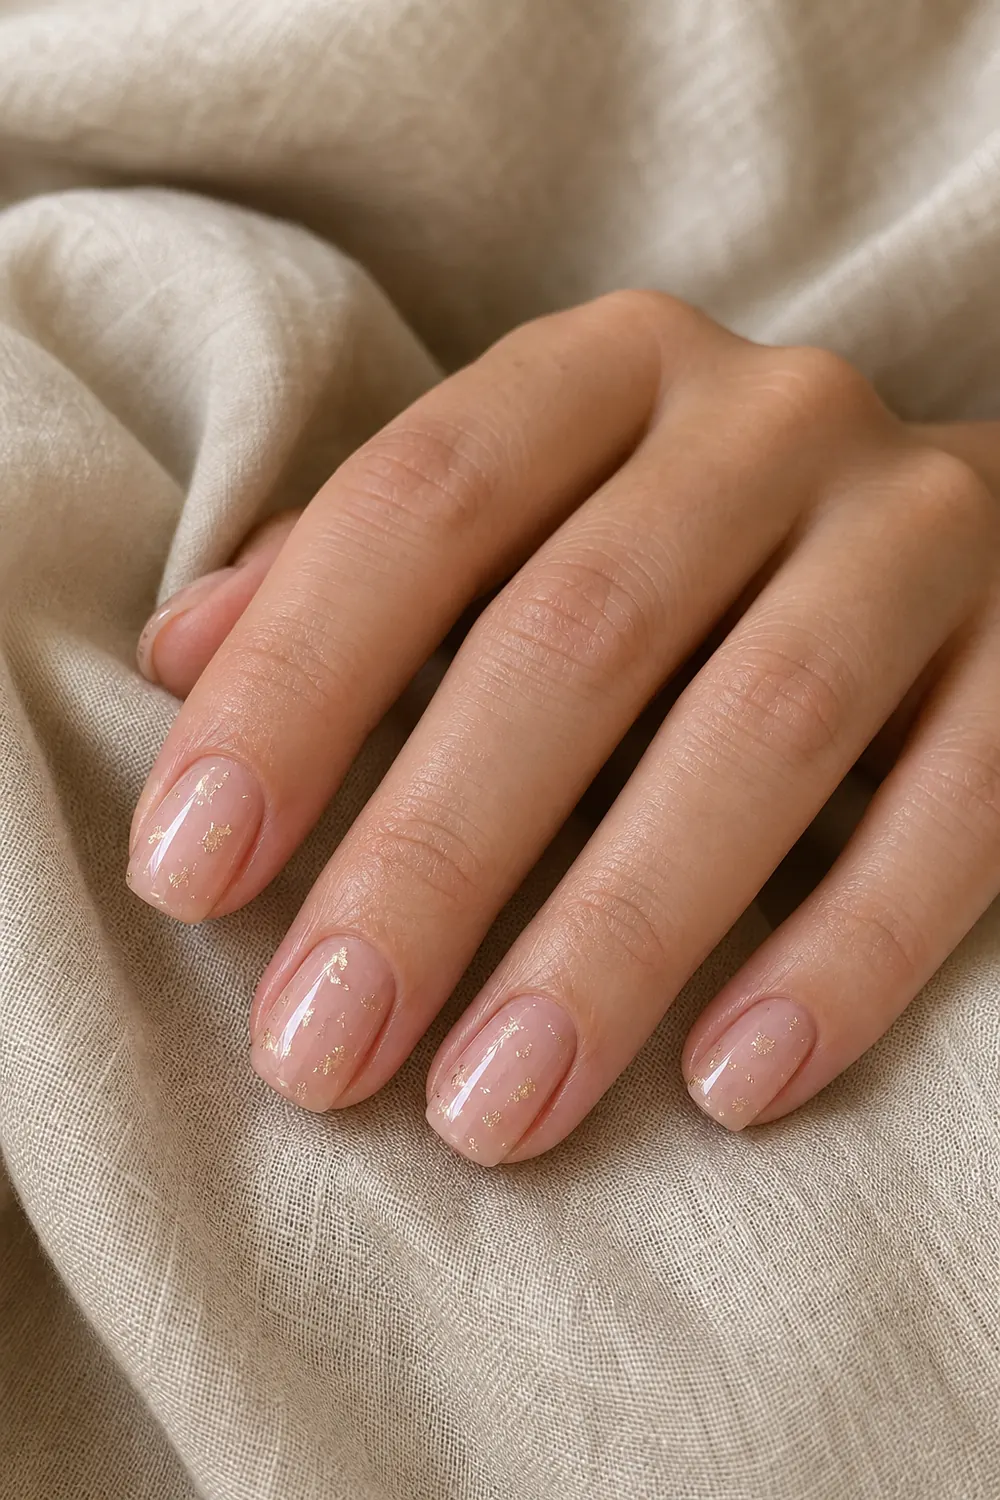
9. Sheer Pink Builder Gel with Gold Flakes Inside
- Difficulty: Easy-medium
- Time: 50–60 min
- Builder gel + gold foil flakes
Setting gold flakes inside the builder gel makes them look like they're floating. Apply a thin layer of builder gel, press flakes on with tweezers, cure, then add another thin layer of builder gel over them before shaping. The flakes end up sealed in, with no rough edges.
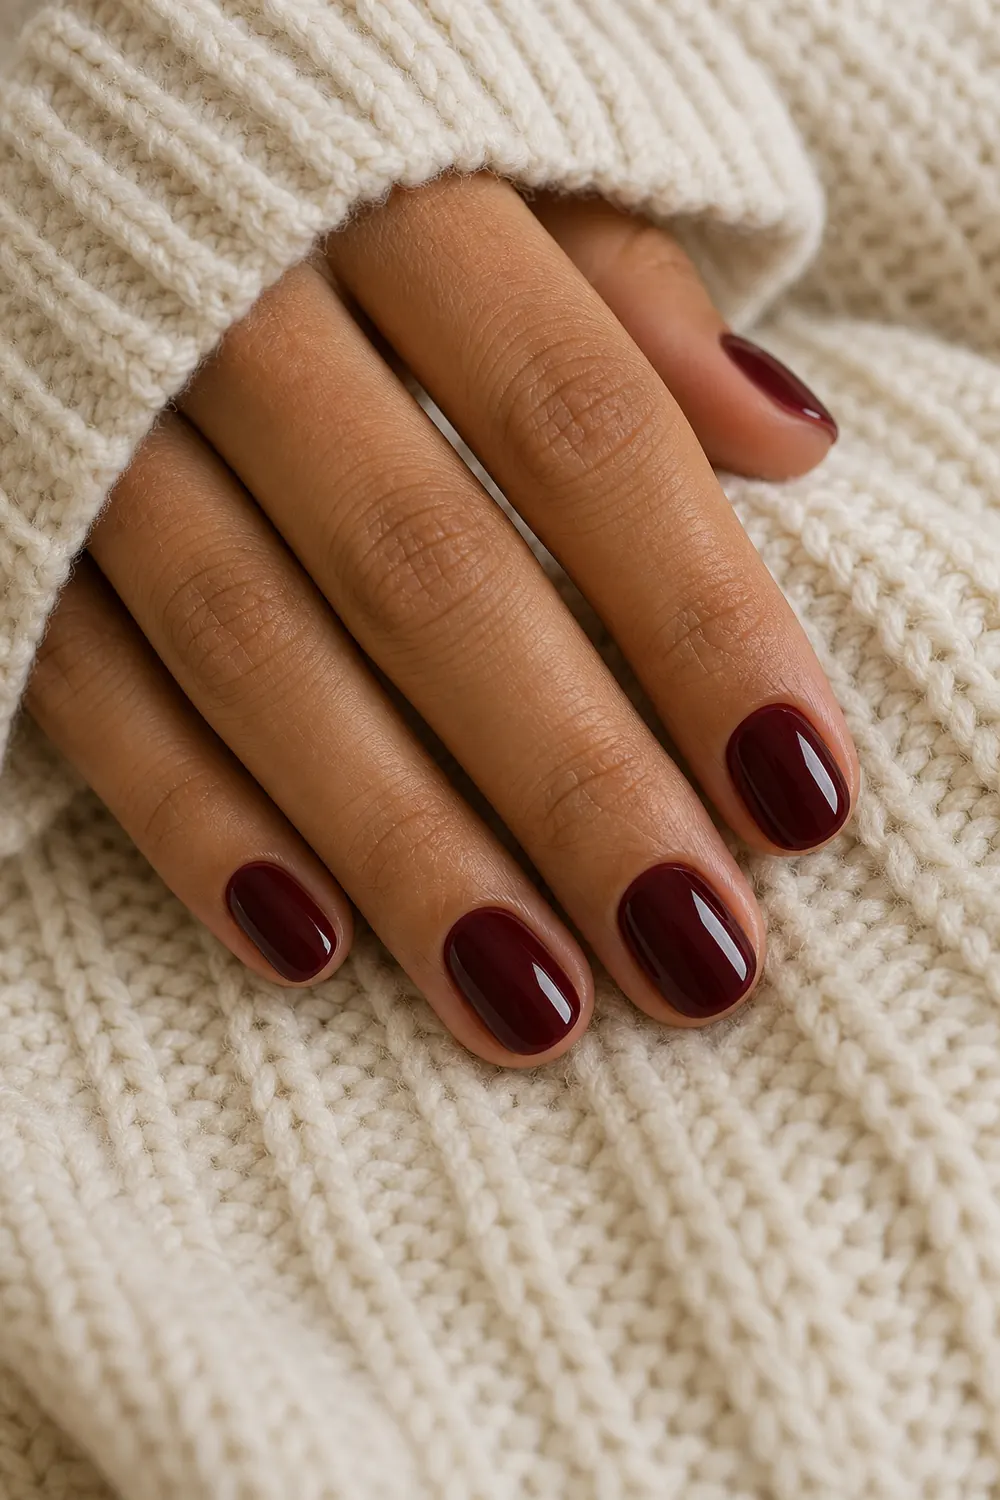
10. Burgundy Builder Gel Overlay
- Difficulty: Easy-medium
- Time: 45–55 min
- Builder gel
A burgundy builder gel overlay is deep and cozy and goes from Christmas through winter. Dark colored builder gel can need a little more curing time, so check your lamp's and product's instructions. Keep a clean gap at the cuticle, since dark gel on skin is easy to see.
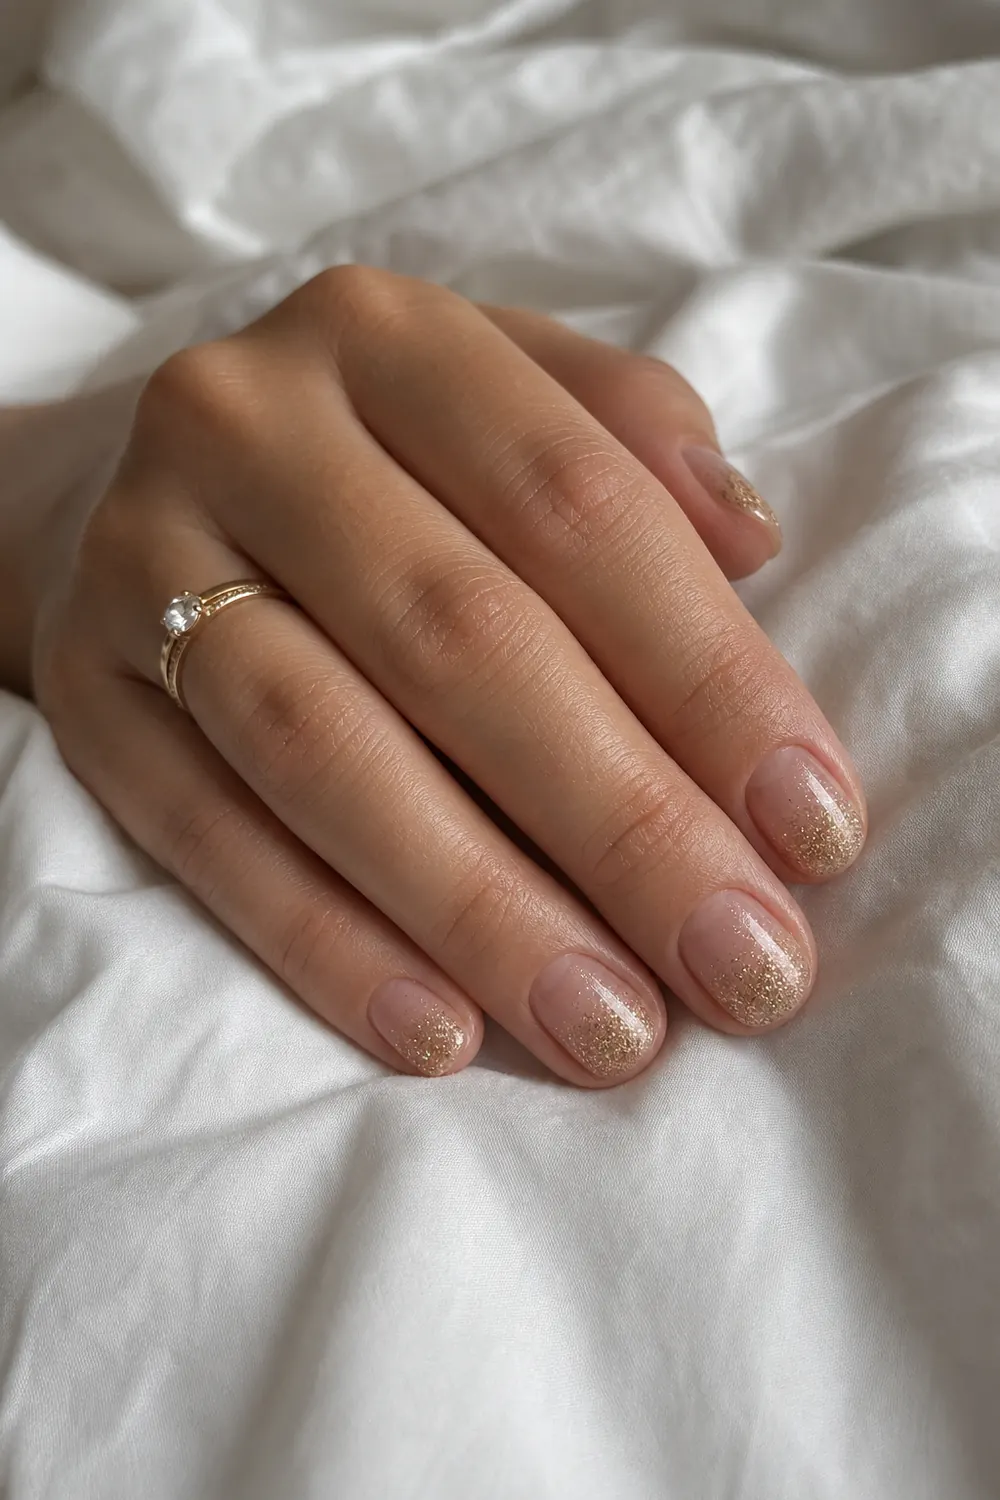
11. Sheer Pink Builder Gel with a Gold Glitter Fade
- Difficulty: Easy
- Time: 45–55 min
- Builder gel + glitter gel
A gold glitter fade from the tips looks festive but grows out well because the base stays sheer. Brush glitter gel at the tip and blend it toward the middle with a small brush, adding less as you go. Cure, then seal with top coat.
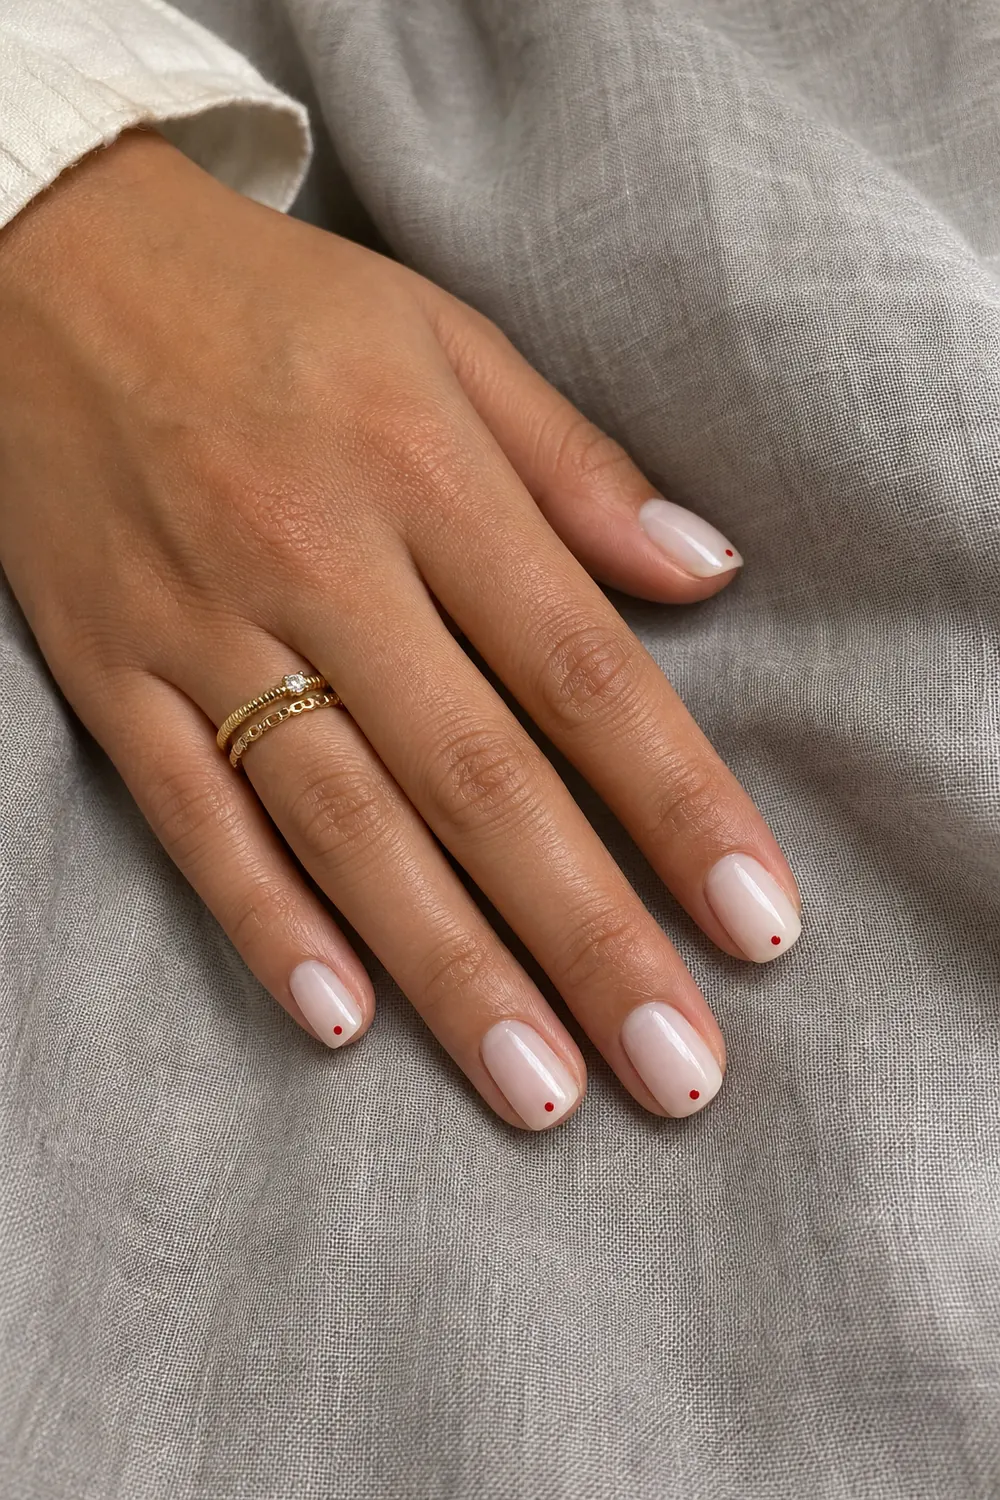
12. Milky White Builder Gel with One Red Dot
- Difficulty: Easy
- Time: 45 min
- Builder gel + gel polish
One tiny red dot near the tip of each milky white nail is the most minimal Christmas set on this list. Use a small dotting tool and red gel polish, placing each dot in the same spot on every nail. Cure the dots, then top coat.
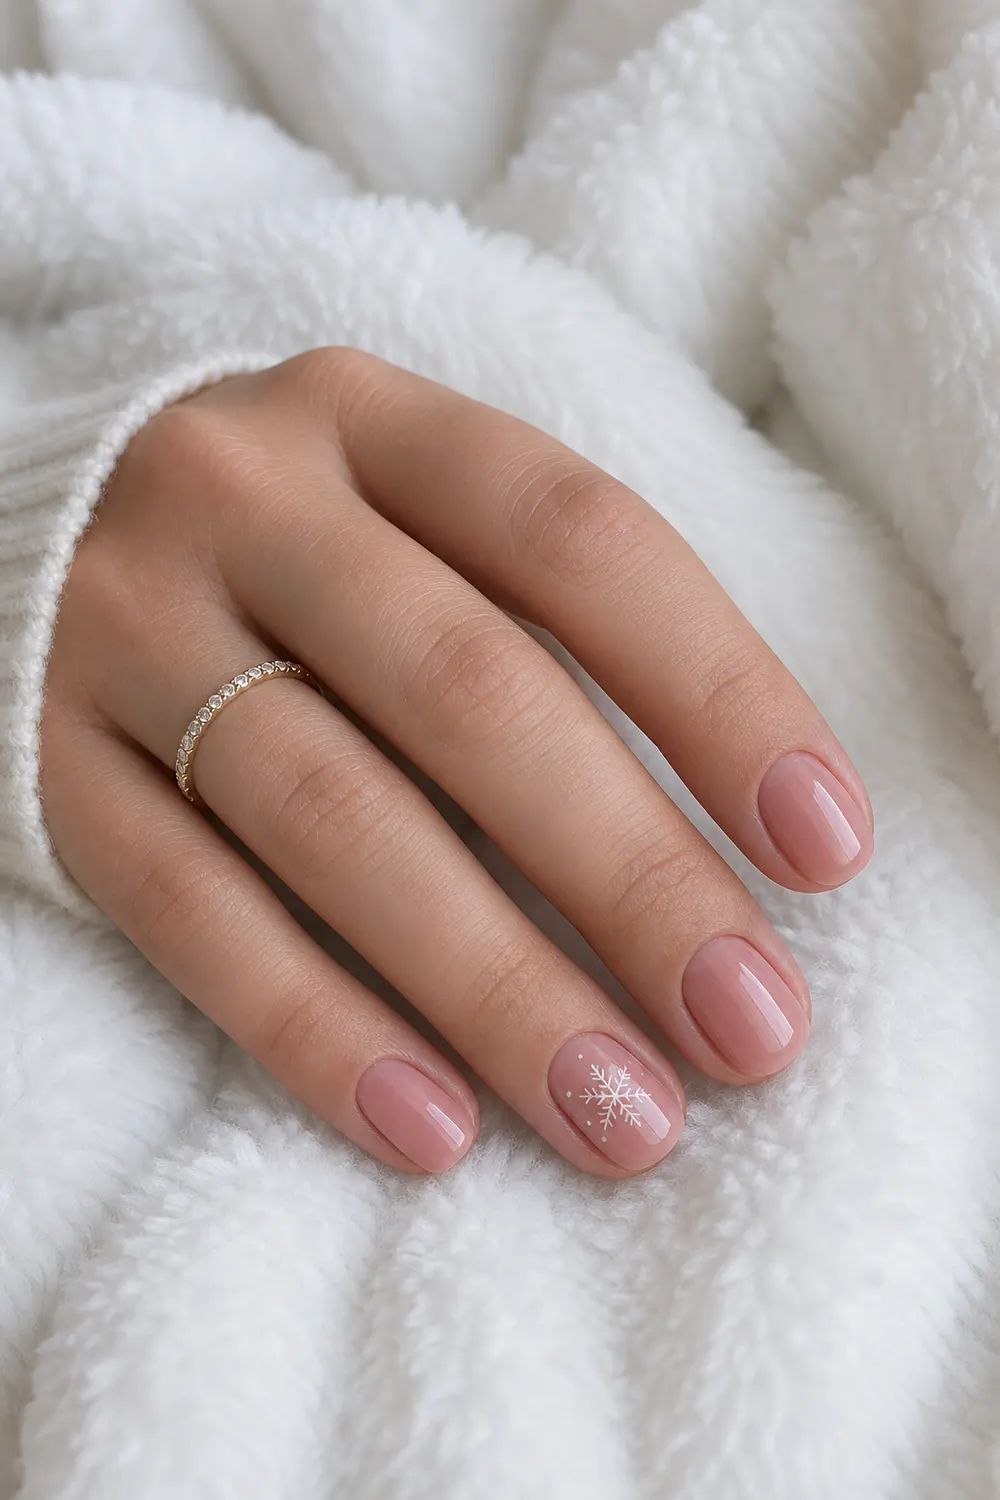
13. Sheer Pink Builder Gel with a White Snowflake
- Difficulty: Easy-medium
- Time: 45–55 min
- Builder gel + gel polish
A single white snowflake on the ring finger keeps a sheer pink overlay feeling wintry. Draw three crossing lines with a liner brush and white gel polish, add tiny dots at the ends, and cure. A white snowflake sticker sealed under top coat is an easy shortcut.
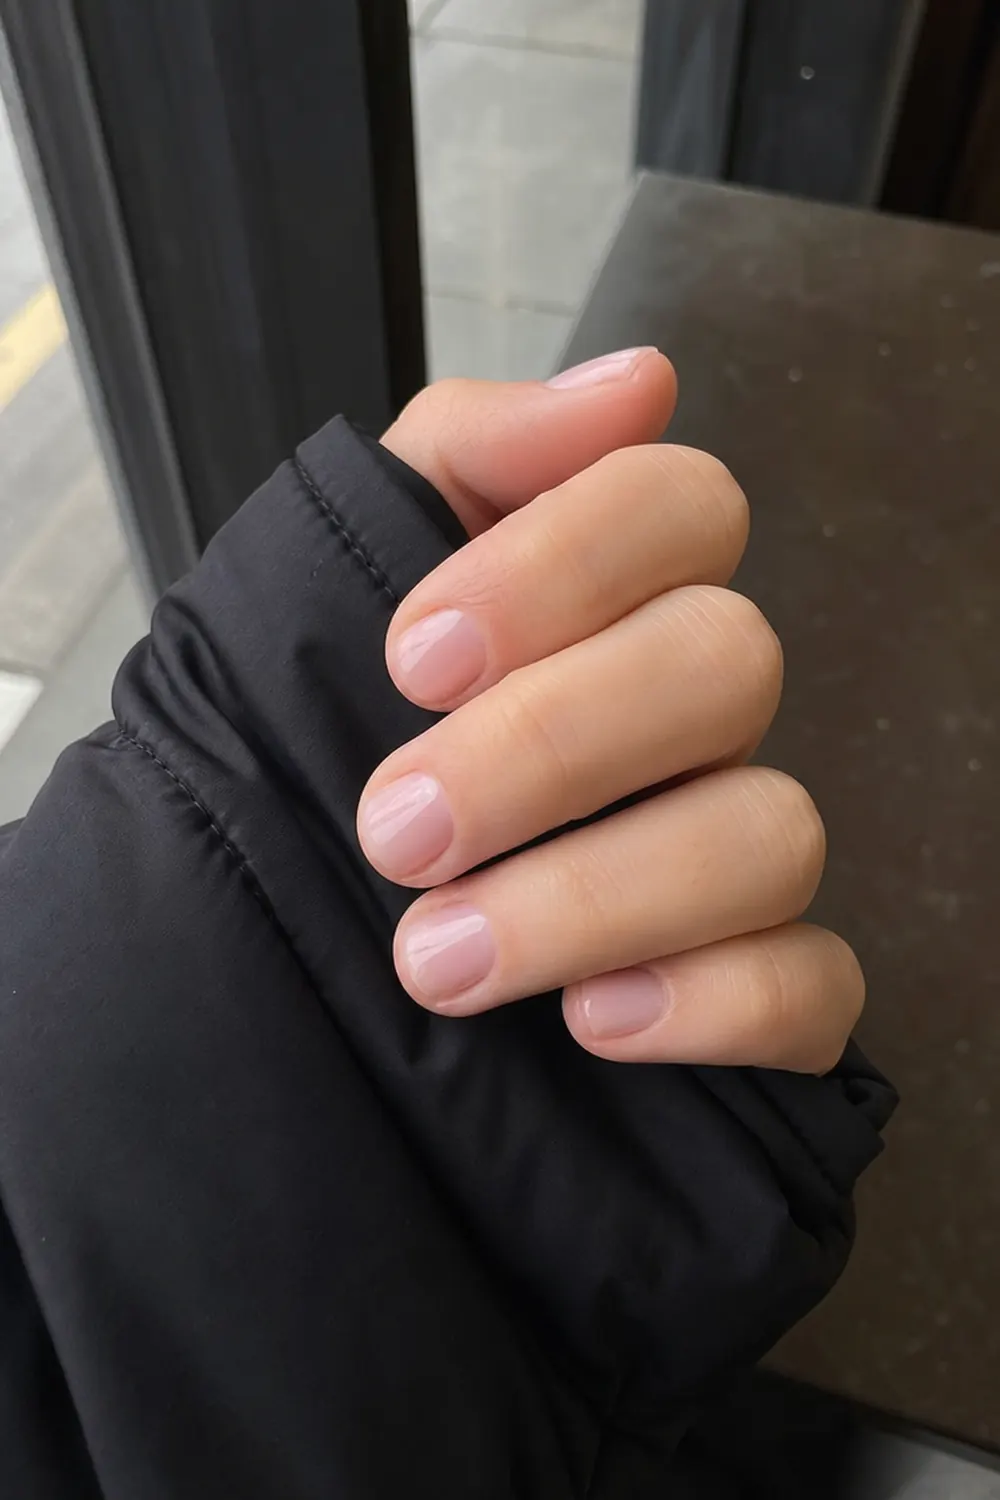
14. Clean Milky Pink Short Nails
- Difficulty: Easy
- Time: 40–50 min
- Builder gel or gel polish
This clean milky pink look is easy to get with a sheer milky pink builder gel base and nothing else. Apply it in thin layers, let it level and cure. Milky pink hides small nail imperfections and looks neat with any holiday outfit.
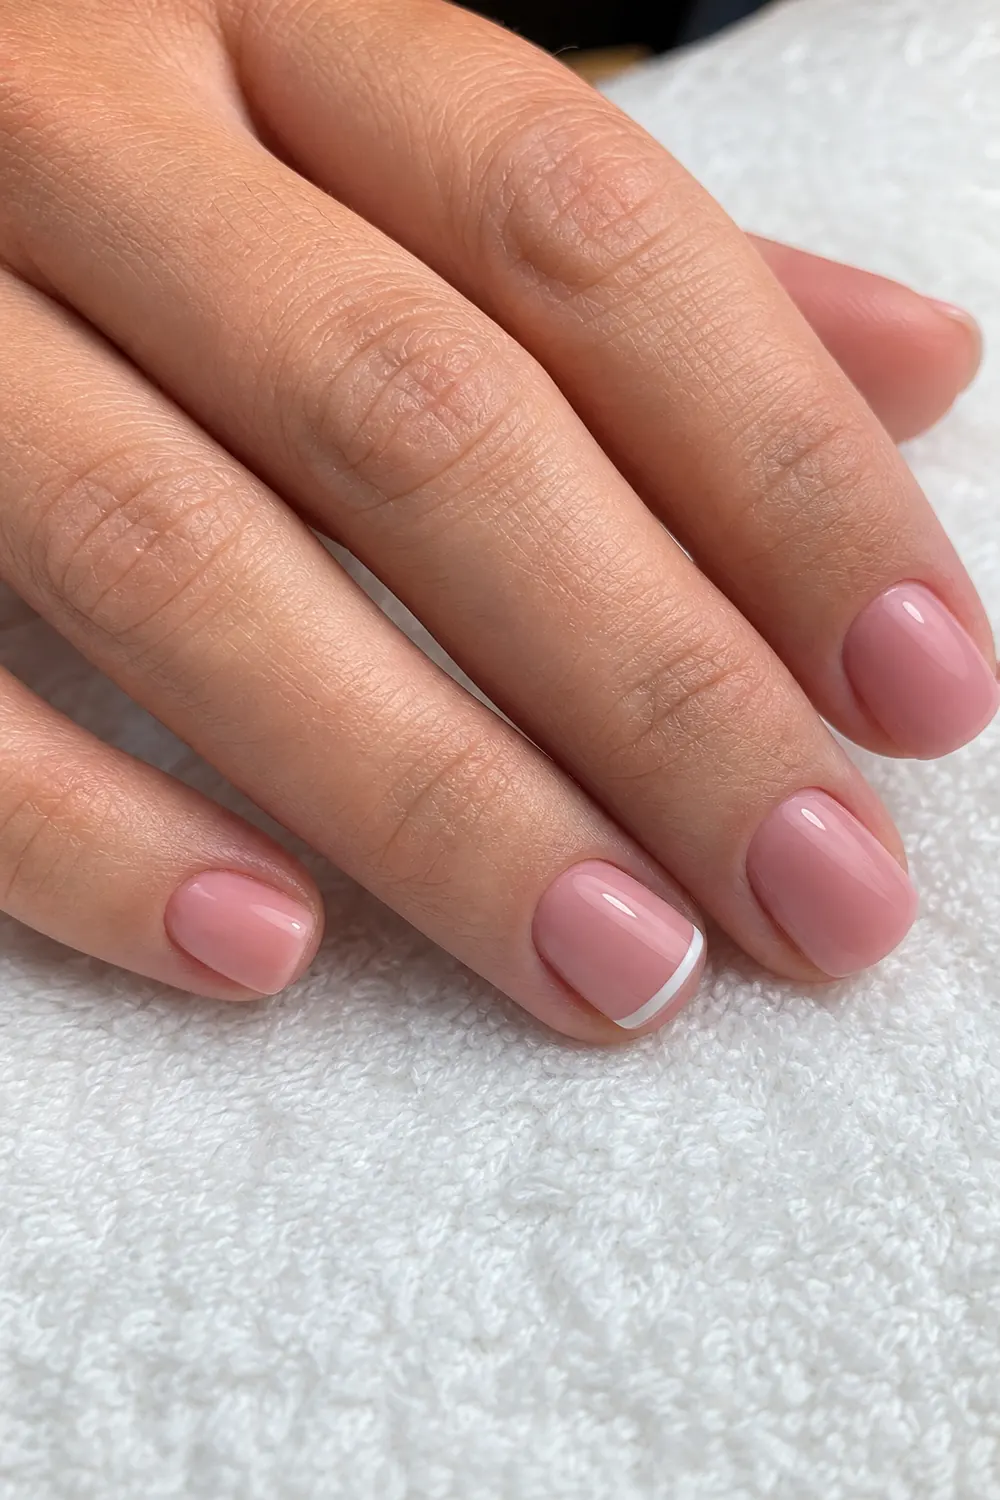
15. Soft Pink Builder Gel with a White Micro French
- Difficulty: Easy-medium
- Time: 45–55 min
- Builder gel or gel polish
A micro French is a very thin tip, and on a soft pink base it looks almost like a natural nail. You can do this look over a sheer pink builder gel base: draw a hair-thin white line along a couple of tips with a liner brush and cure. Wipe the brush often so the line stays thin.
Builder Gel Basics and Safety at Home
Builder gel is more forgiving than it looks, but a few things matter a lot:
- Thin layers are better than one thick layer. Thick builder gel can cure unevenly and feel heavy on short nails.
- Keep it off your skin and cuticles. Uncured gel on skin can lead to an allergy to acrylates, which can make it hard to use gel products later. Clean up any gel that touches skin with a small brush or a wipe before curing.
- Follow your lamp’s and product’s instructions for curing time. Different gels and lamps need different times.
- If you feel a burning sensation while curing (sometimes called a heat spike), take your hand out of the lamp for a few seconds, then finish curing. Thinner layers help avoid this.
If you are newer to gel, it may help to start with easy DIY Christmas gel nails using regular gel polish before moving to builder gel.
How to Remove Builder Gel Without Damaging Your Nails
Removal is where most at-home damage happens, so take your time.
- File off the top coat and most of the color with a coarse file or a nail drill on a gentle setting. Stop before you reach the natural nail.
- Soak or keep filing. Some builder gels are soak-off: wrap each nail in a cotton pad with acetone and foil for about 10–15 minutes, then gently push off the softened gel. Other builder gels need to be filed off completely. Check your product’s instructions.
- Don’t peel or pry. Peeling builder gel pulls layers of your natural nail off with it.
- Finish with care. Lightly buff any leftover spots, wash your hands and use cuticle oil.
Many people don’t fully remove builder gel each time. Instead they file down most of the old layer and apply a new one, which is called an infill. This is easier on short nails, but it takes practice to file evenly.
Making Builder Gel Christmas Nails Last
Builder gel can last a few weeks, which is why it works so well for December. To help it hold up:
- Cap the free edge with each layer, including top coat.
- Wear gloves when you wash dishes or clean.
- Use cuticle oil daily to keep the skin around the nail soft.
- Don’t use your nails as tools to open cans or peel off stickers.
For more short holiday looks with other products, see short Christmas nails or dip powder Christmas and winter nails.
FAQ
What is the difference between BIAB and builder gel?
BIAB stands for “builder in a bottle” and is a brand name that people in the UK often use for any builder gel. In the US, most people just say builder gel. Both refer to a thicker gel that is brushed onto natural nails and cured under a lamp.
Can I do builder gel nails at home as a beginner?
Yes, if you go slowly and use thin layers. Start with a plain sheer overlay before adding art, keep gel off your skin, and follow your lamp’s and product’s instructions for curing.
How long do builder gel Christmas nails last?
It depends on your nails, prep and daily habits, but builder gel often lasts a few weeks. Good prep, capping the free edge and wearing gloves for chores all help.
What are good builder gel nail ideas for Christmas on short nails?
A sheer pink overlay with red or green French tips, milky white with tiny gold stars, gold flakes set inside the gel, and a single snowflake or holly accent all work well on short nails.